Yes, you need a ballast to run the metal halides.
The wiring is pretty easy actually, because they come basically pre-wired. All you have to do is add a power plug, and the socket so 2 wires in and 2 wires out, and they're usually pretty well labeled on the wires themselves.
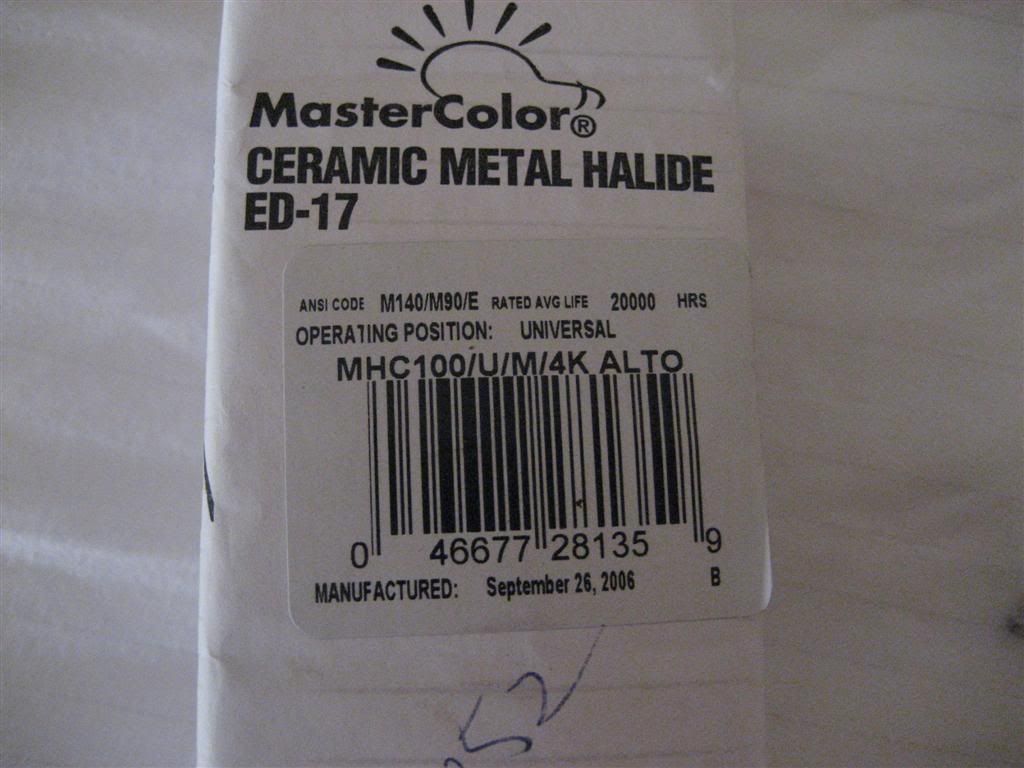
I will post another article that I put up which was basically aimed at home useage of metal halides... But the key is finding the designation of the lamp, it has a code for a certain wattage, i.e. M81, M102, M142 are the 3 kinds for 100w that I know off the top of my head. Each ballast is labeled for what kind of lamp it runs (and typically all correct wattage ballasts run all of the same wattage bulbs).
So you find a M42 bulb and an M42 ballast, and depending what kind of socket it has, Medium base, mogul base (a large regular screw in socket), or a double ended like halogen (RX7) you buy the correct "socket" and reflector, and away you go!
Hellolights.com has good packages for DIY, you can find it a little bit cheaper on ebay if you are really gung ho, but I use them often for my parts supply (except for bulbs) I usually just use a high quality 4200k high CRI bulb from like philips or Ushio (bargain philips).
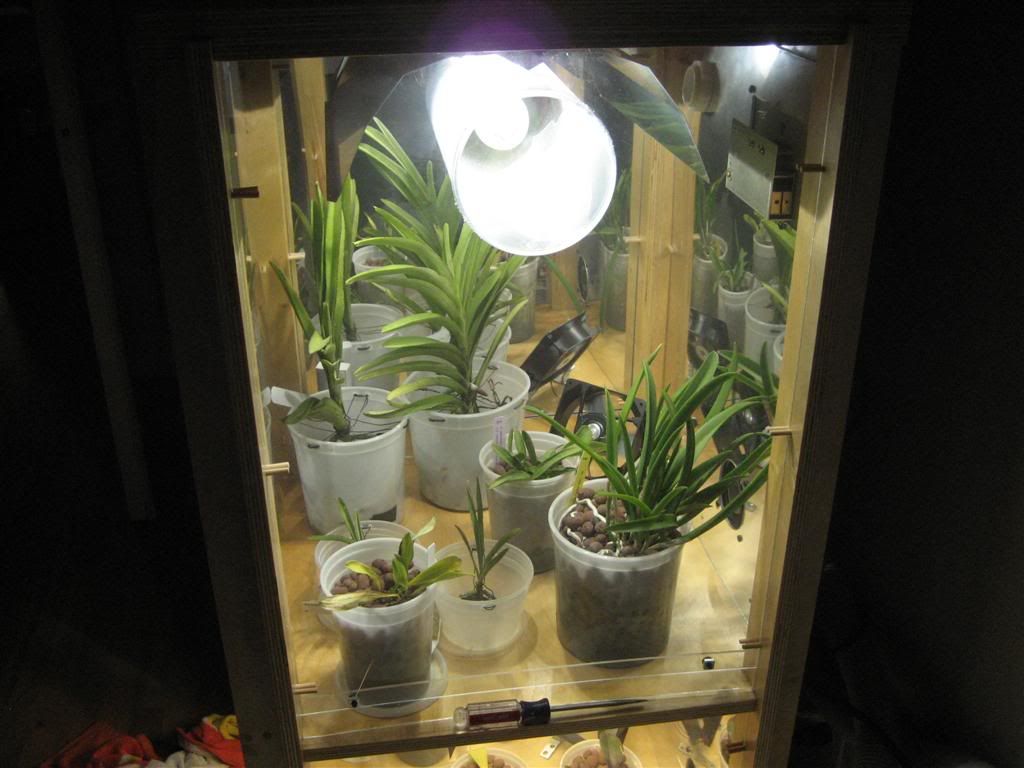
Here's my thread from another forum, feel free to ask, but I thought I would share more, and let people ask what is missing for our situation.
I'm here to make friends and help each other out, so however I can help, please let me know. Cheers, Bill
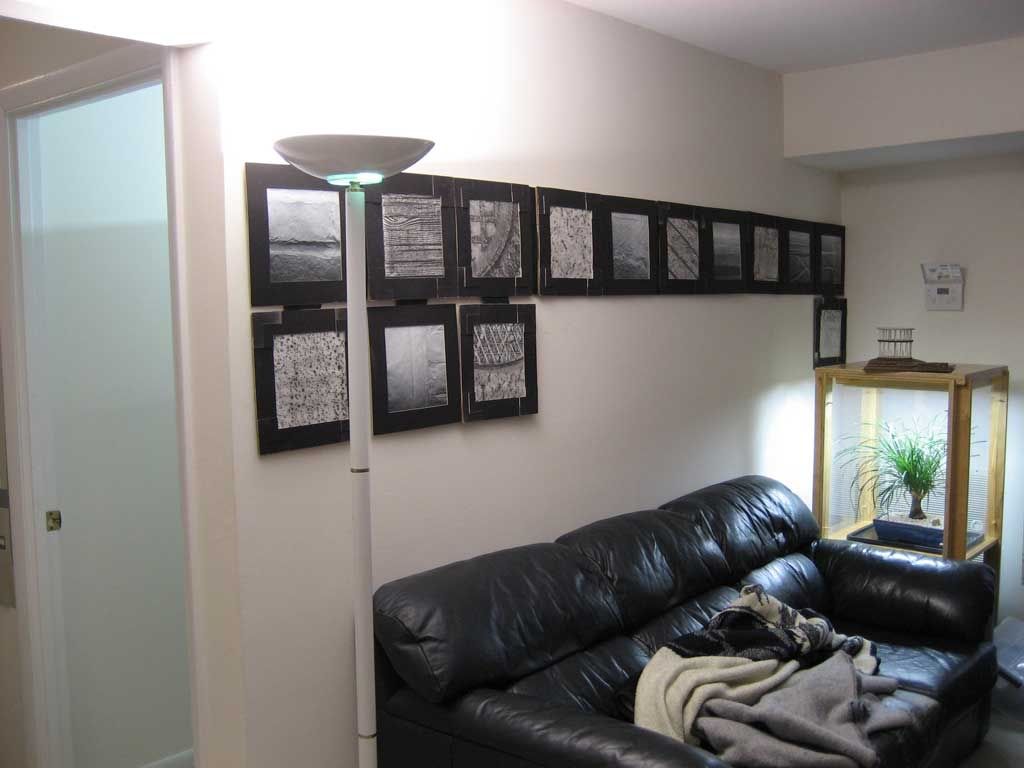
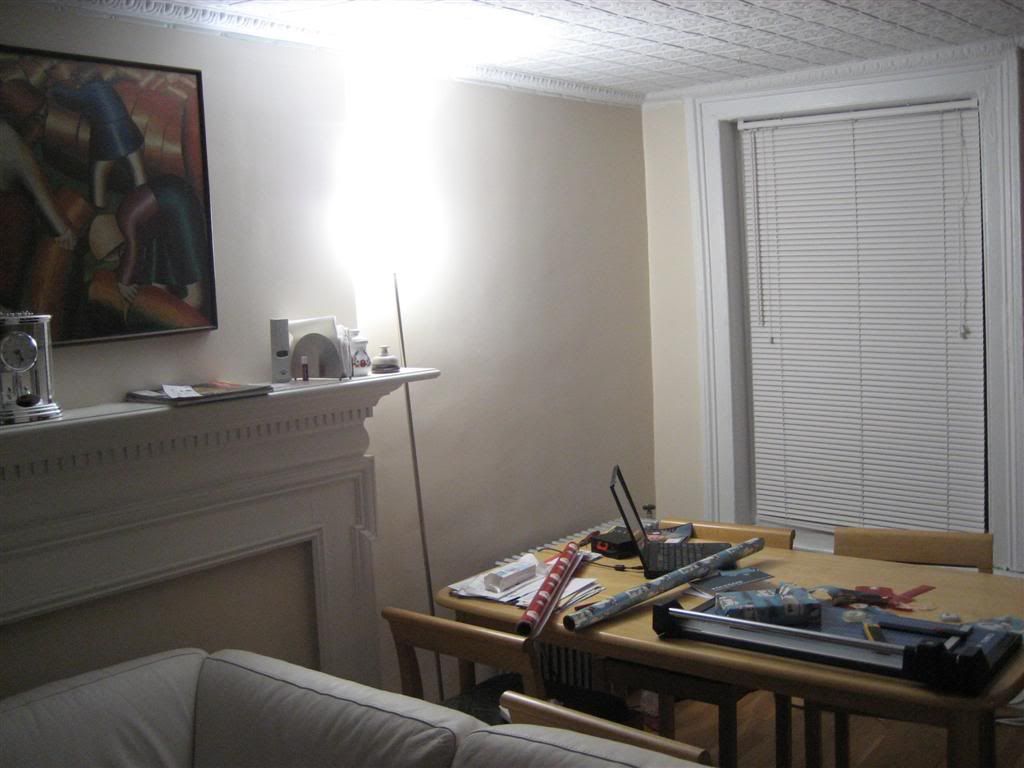
So you like HID lighting in your Car? How about in your living room? It's energy efficient, and
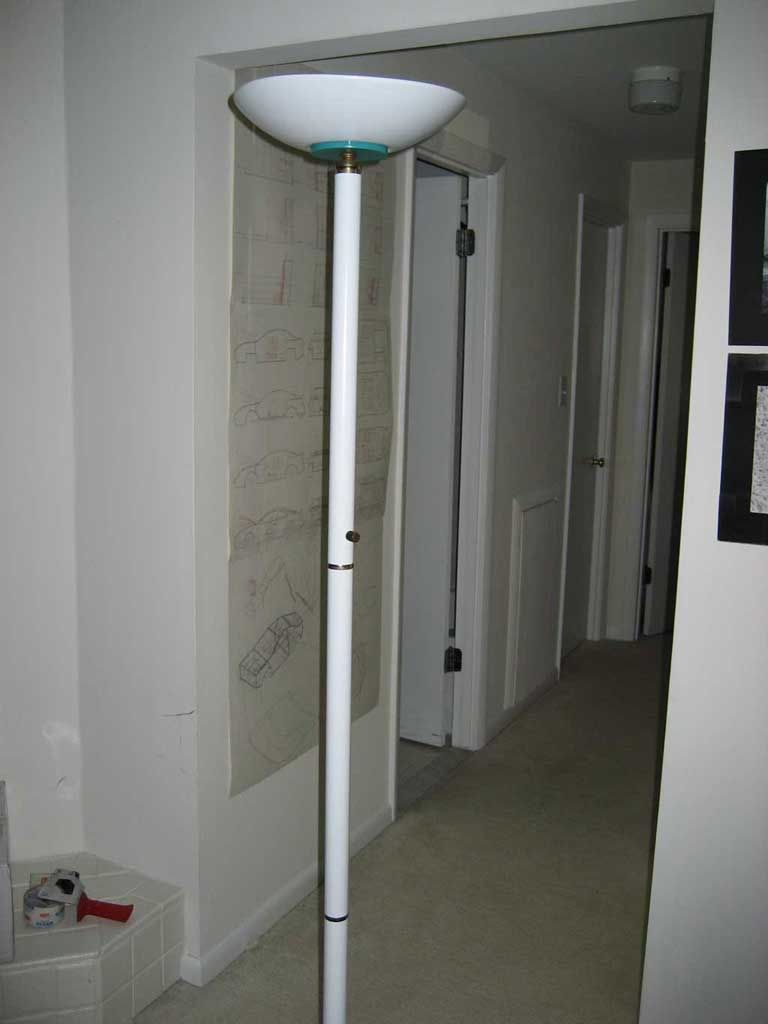
This is how to retrofit a 150watt HID lamp into a standard halogen uplight you may have lying around.
excellent lighting quality. You can pick from 4200k up to 6500k, CRI (Color Rendering Index) of 80-
96. Typical lumens are in the 10,000-15,000 range... (BRIGHT!)
Parts needed:
150watt Metal Halide, HQI, Double Ended Bulb
150watt Electronic Metal Halide ballast
150watt HQI Socket
Assorted parts:
Halogen Lamp
Power Cord
14 gauge zip/lamp cord
crimps and electrical tape (solder + heat shrink tubing optional)
Tools
screwdriver, wire cutters, drill or poker.
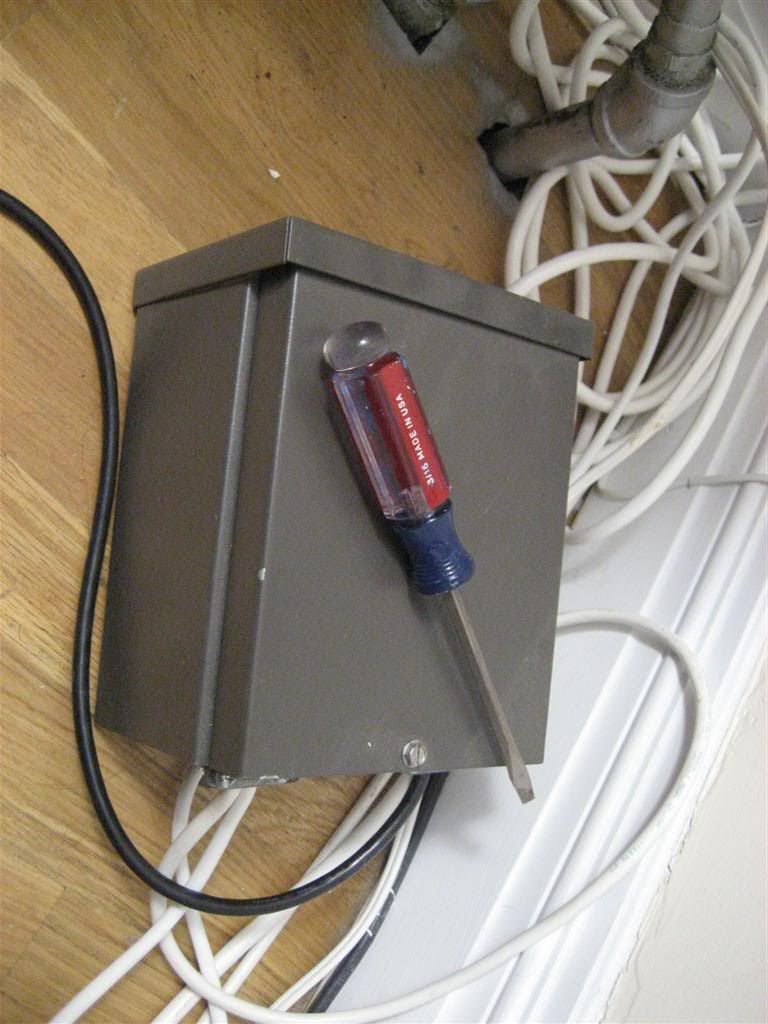
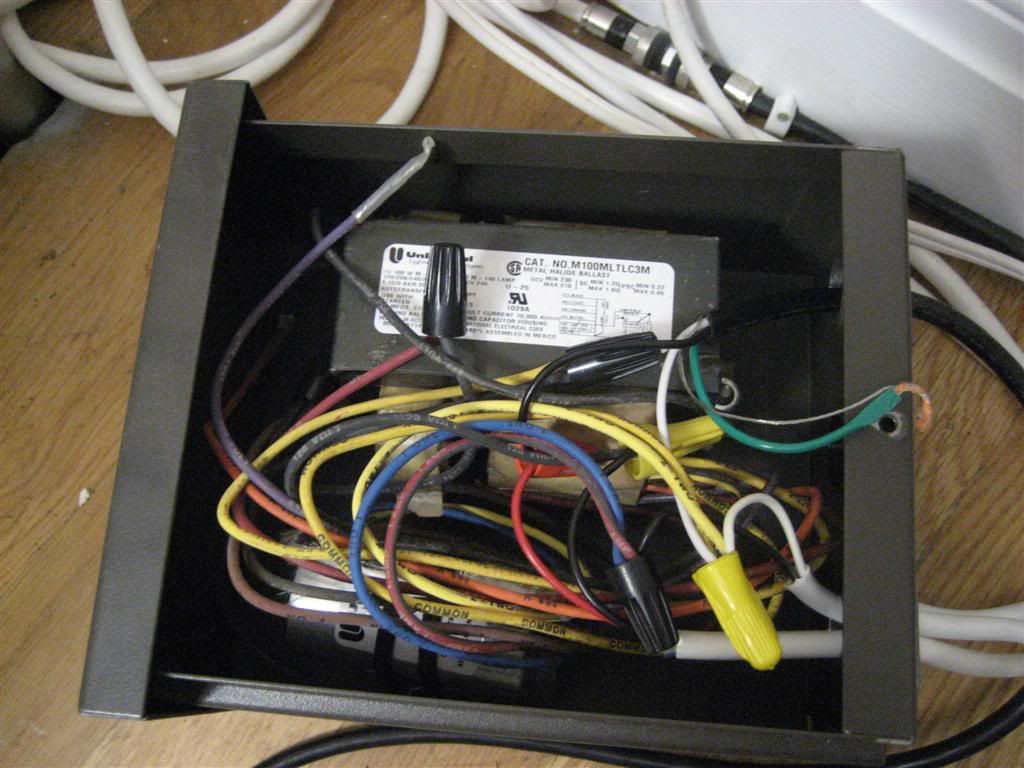
HID Ballast
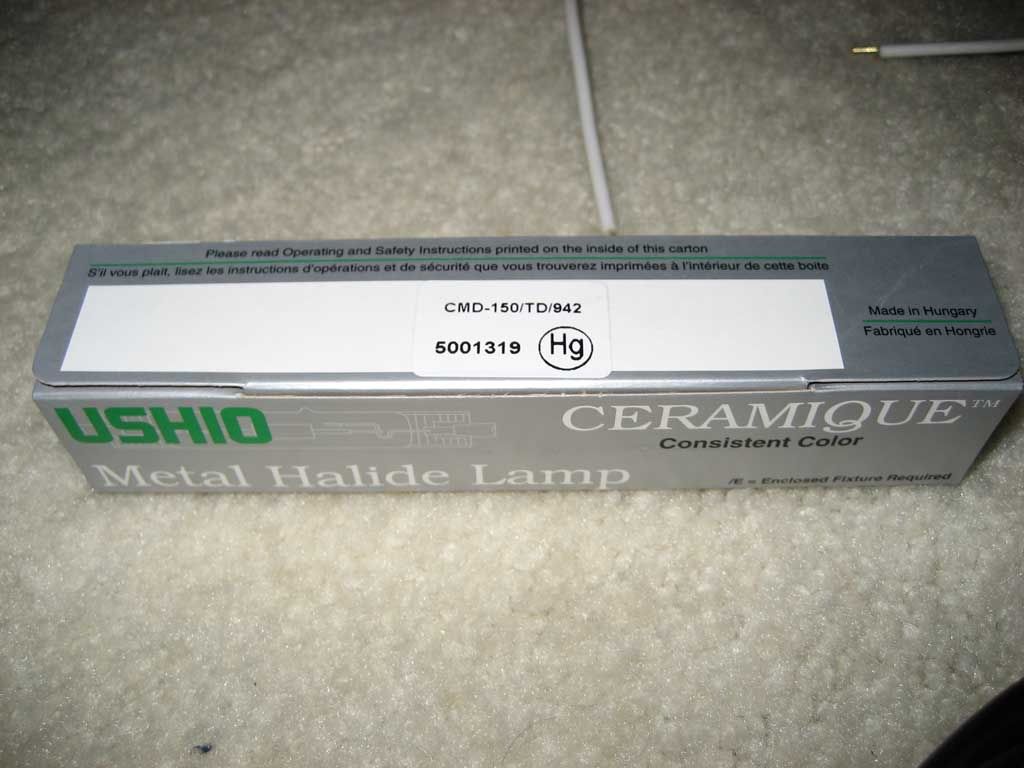
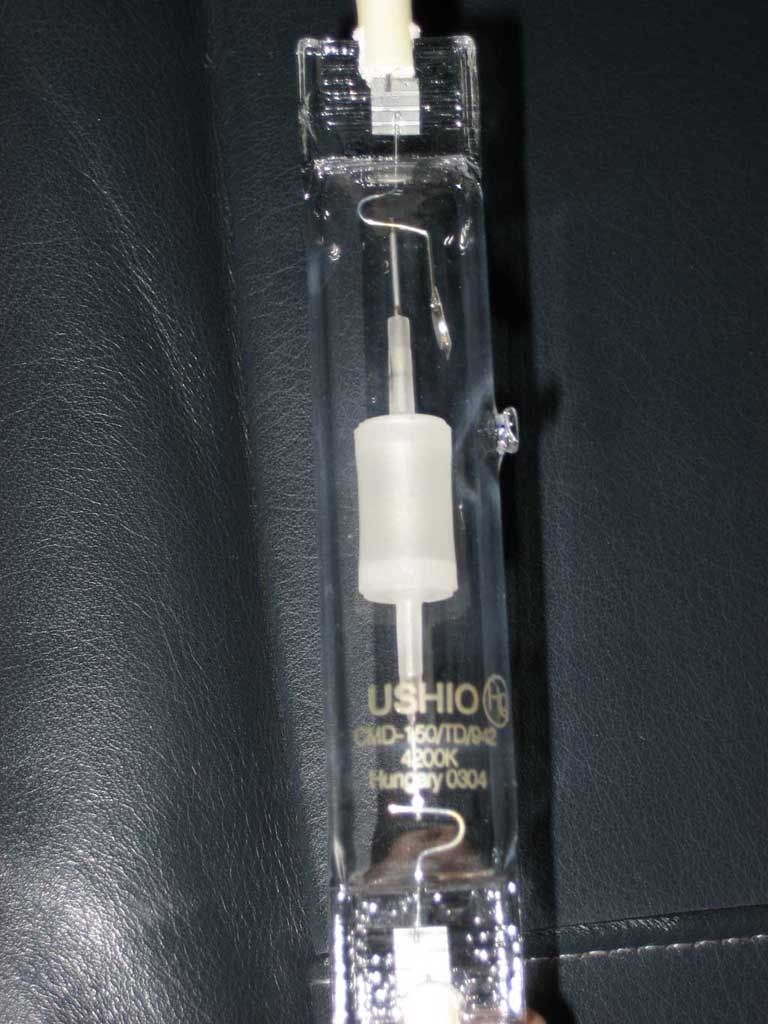
HID Bulb
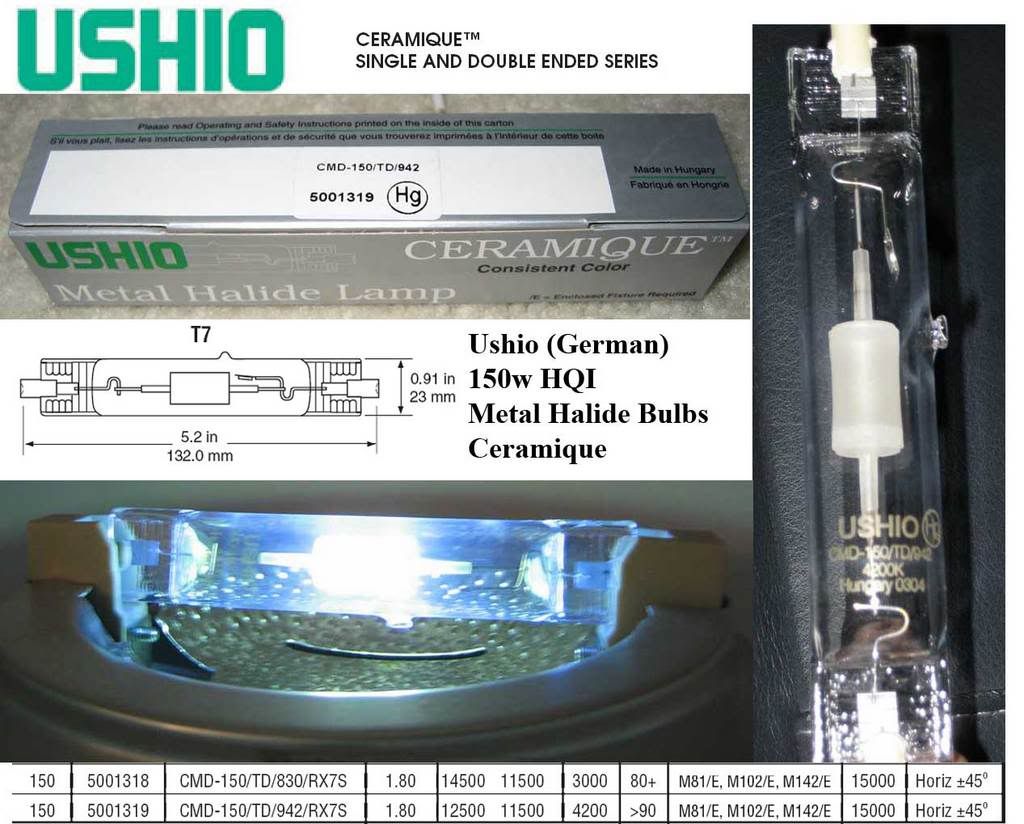
Ushio 4200k 90+ CRI
http://www.ushio.com/det_gl_metalhal_ceramique.htm <-reference
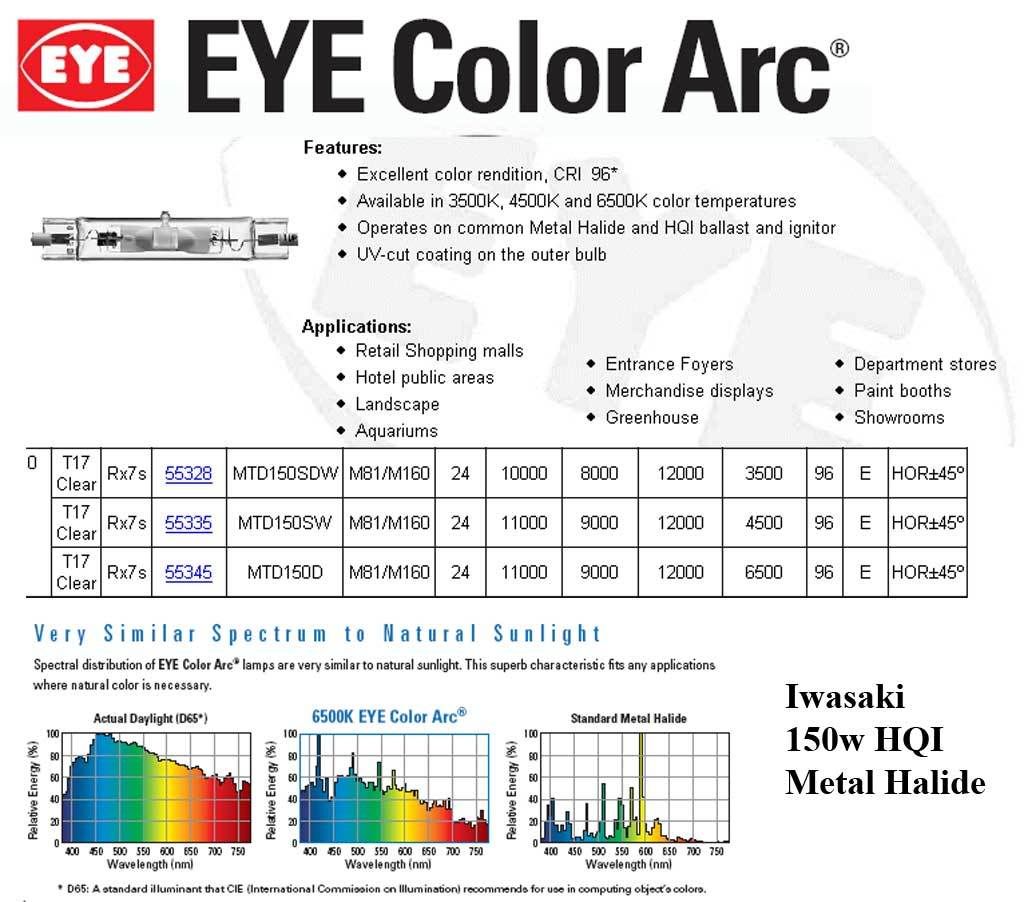
 Iwasaki Color Arc Renaissance 4000k-6500k 96 CRI
EYE COLOR ARC - RENIASSANCE
Iwasaki Color Arc Renaissance 4000k-6500k 96 CRI
EYE COLOR ARC - RENIASSANCE <-reference
First, this is the easiest type of lamp to retrofit, it already has a Halogen bulb in it, so
mounting is a snap. You may have a Dimmer or 3 way (off, low, high). If it's a dimmer, you must
remove the dimmer. If you have a 3 way, you can pop off the back, and there is a diode inside.
Remove the diode, and it will become a 3 way on/off switch (no low mode anymore). The diode serves
to block voltage below 0v, esentially cutting the brightness in half. The dimmer is a big resistor
basically, and you can't dim most HID ballasts.
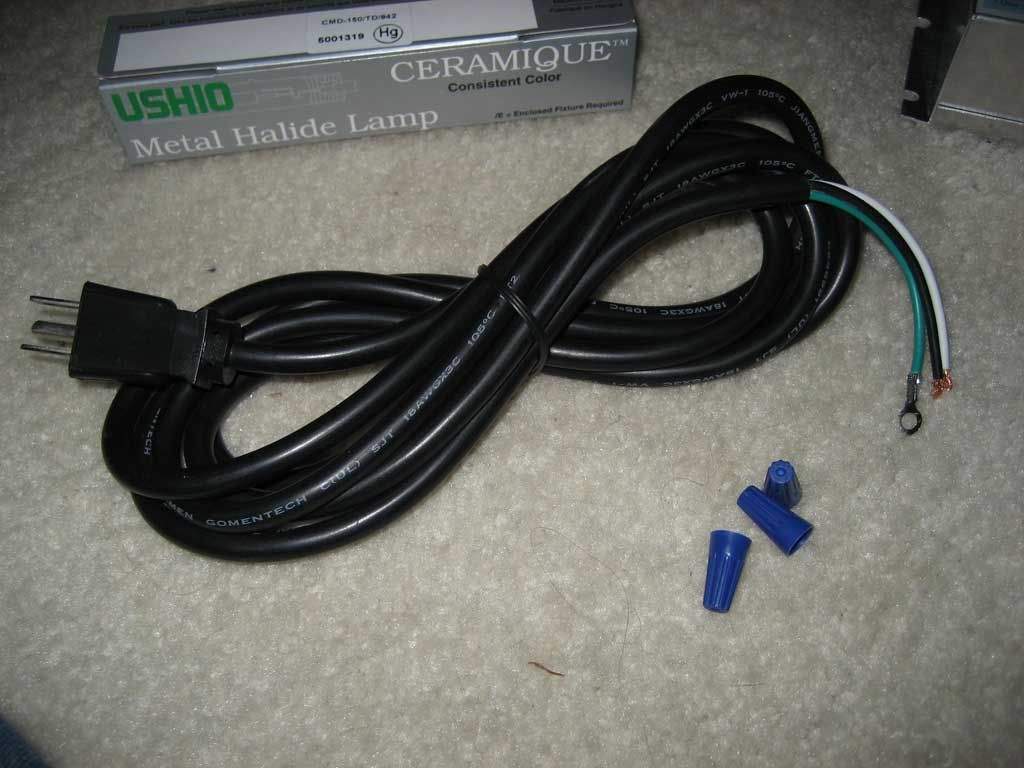
Here you can see the 3 special ingredients, Bulb, Ballast, and Socket. Also the cord, but pretty much any lamp cord will do, even the one that came with the light originally:
150watt HQI Socket
My Ushio 4200k 90+CRI 150w HQI Metal Halide (HID) bulb
Lamp cord
WHERE TO BEGIN:
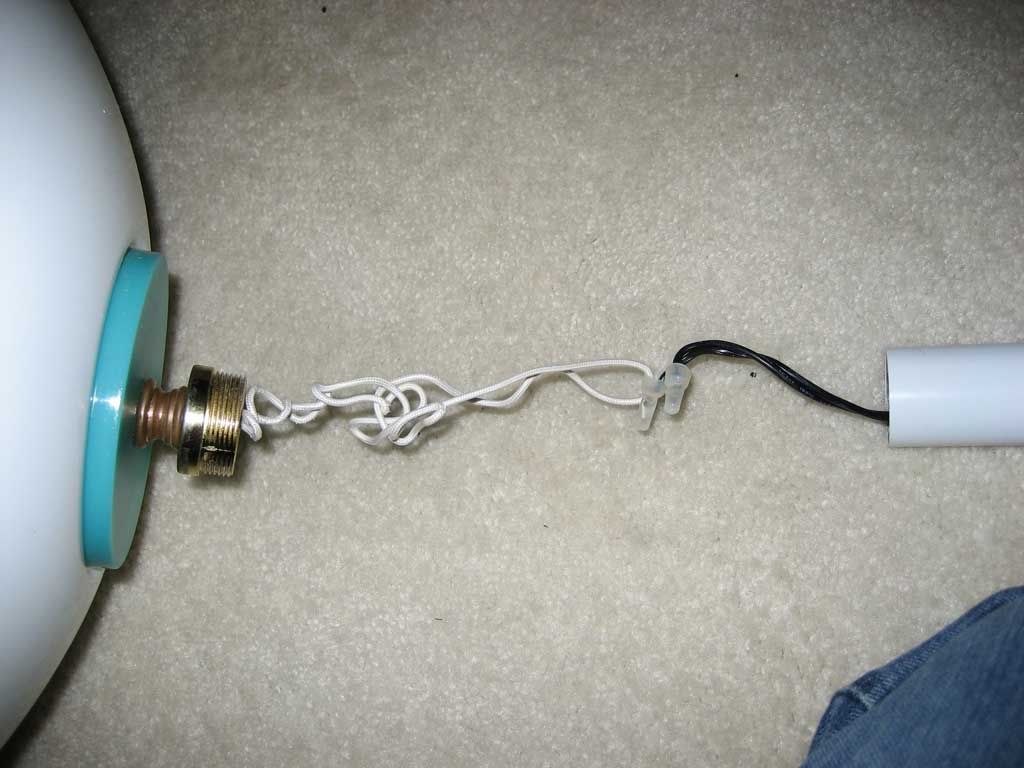
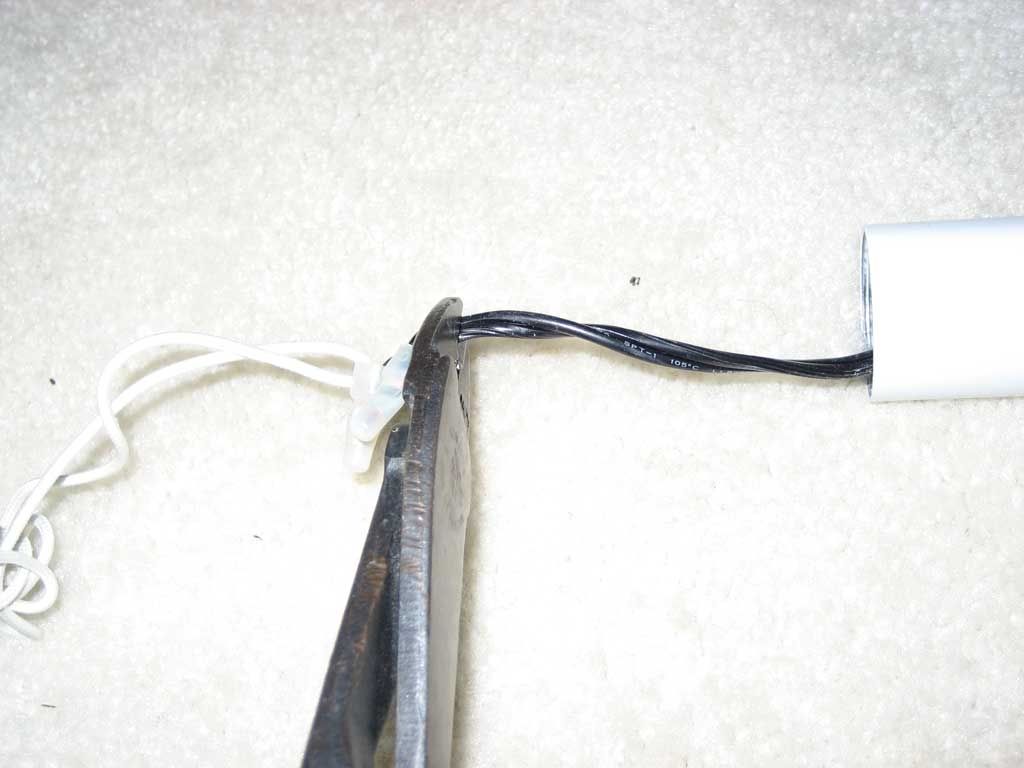
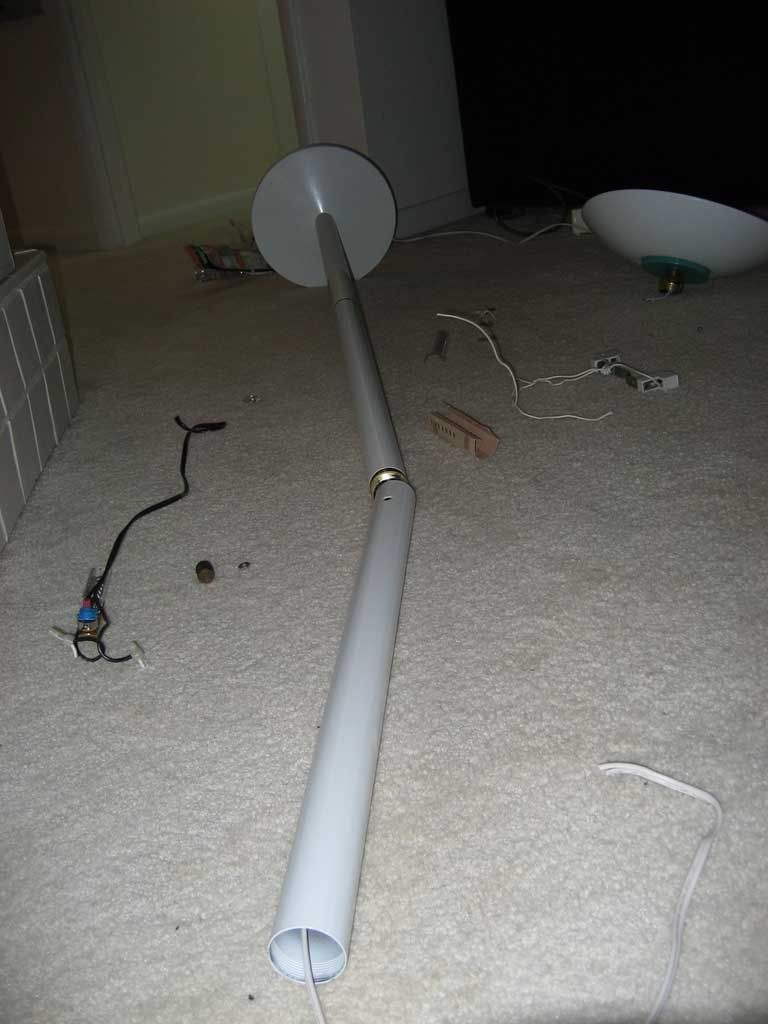
First start by unscrewing the top part, and just cut the wires close to the crimp caps:
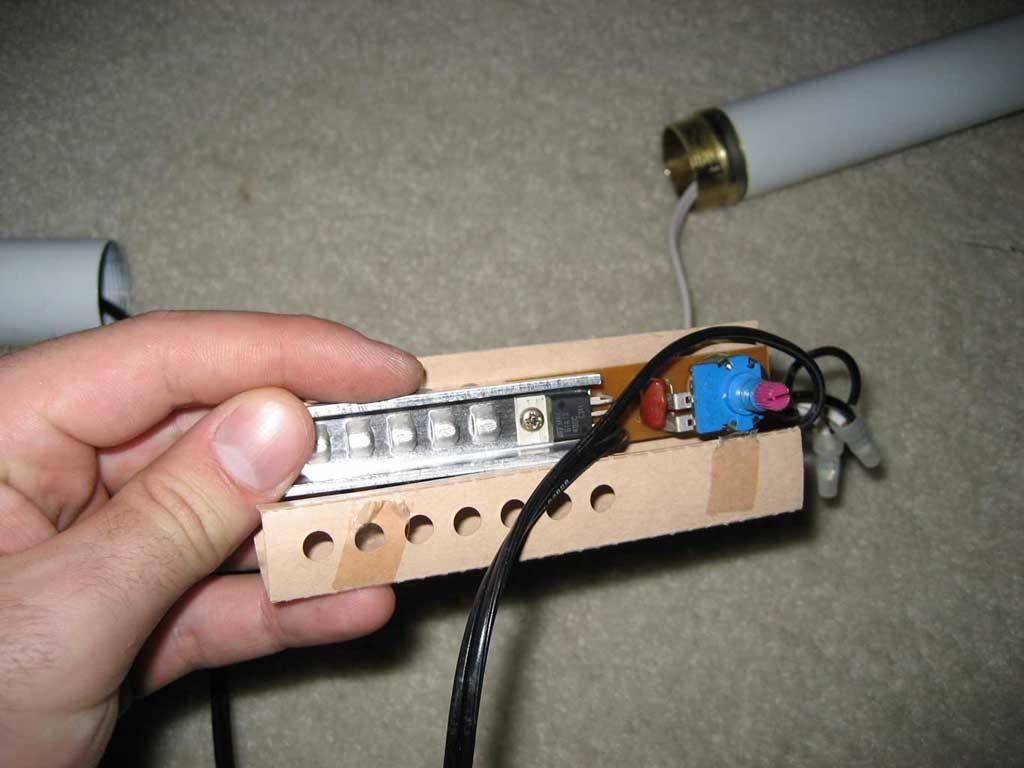
Then unscrew the middle section where we will extract the dimmer switch and bypass it. If you have a
3-way, you can rig it as an on/off switch, but that will be for later. I would recommend bypassing
it totally. Just cut the dimmer wires, and unscrew the nut holding it on.
See it's a big resistor, waste of power
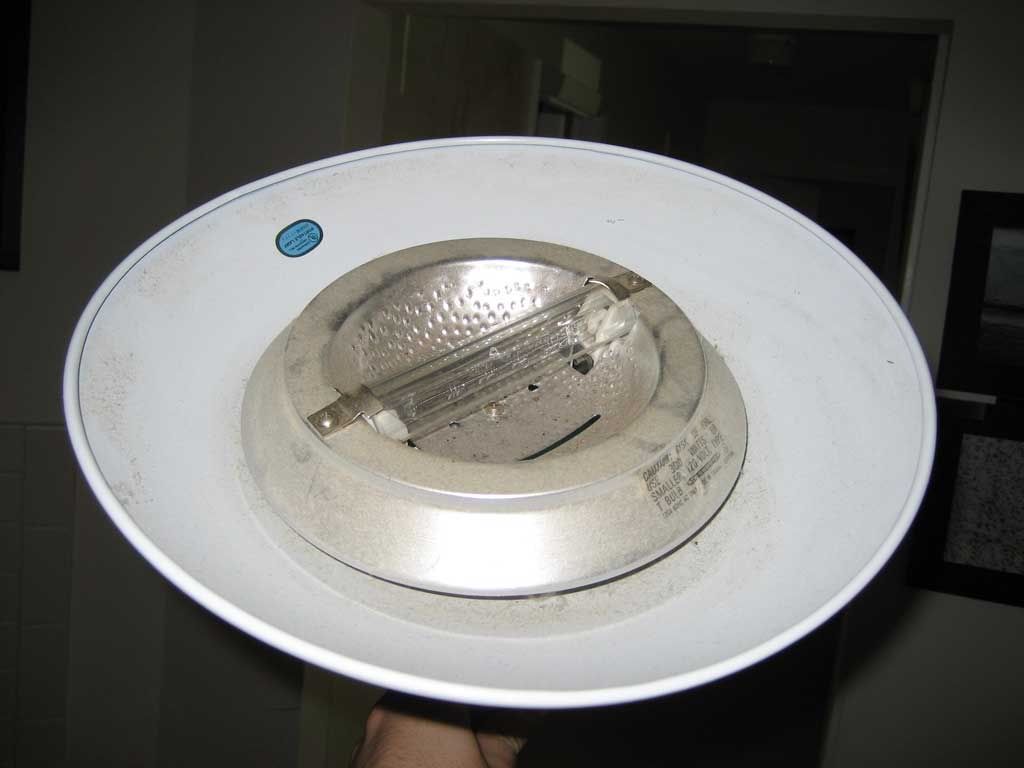
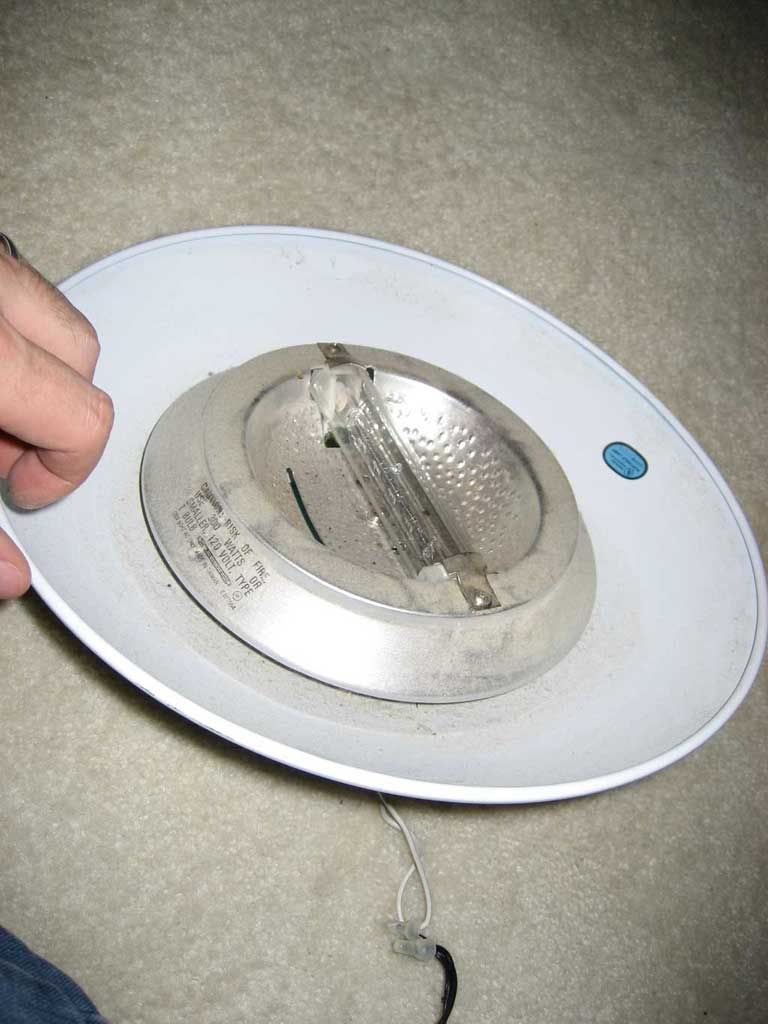
Ok, now let's go back to the top section, should be cut loose at this point. Remove the bulb
CAREFULLY... do not get your finger prints on the bulb or it will kill the bulb when it gets hot and
possibly explode. ALWAYS ALWAYS use some sort of plastic or cloth, and only remove when cool. You
will have to remove the glass shield, just take the screws holding the glass shield off (not
pictured) and throw away.
Now we're going to remove the reflector with the middle screw:
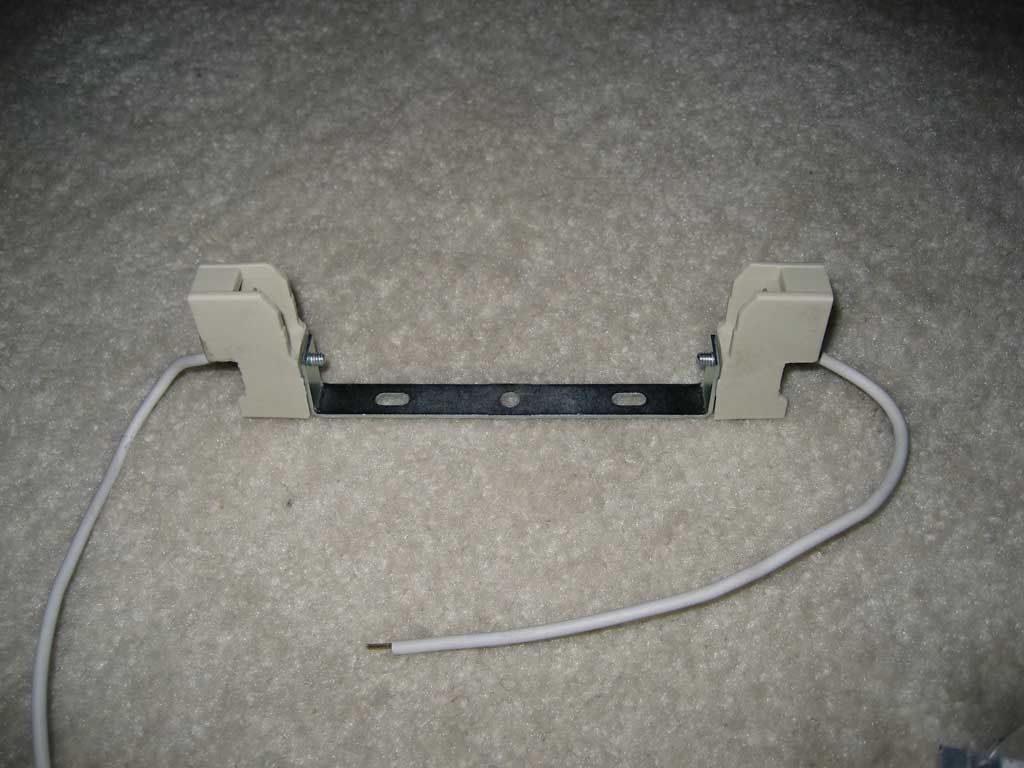
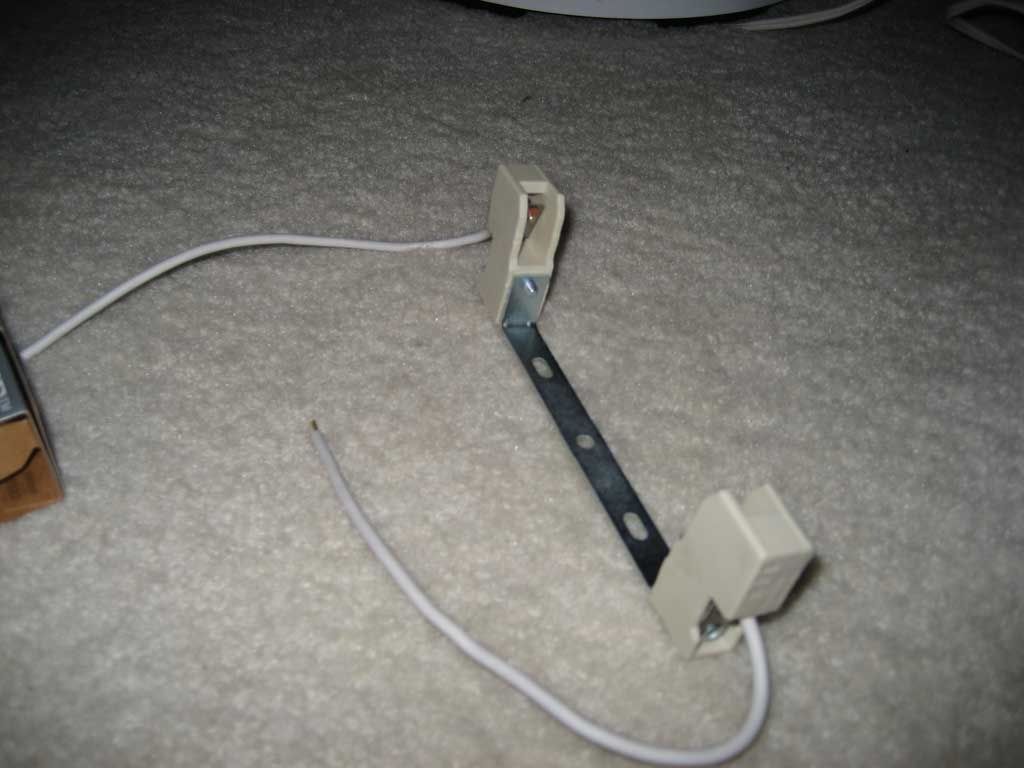
Now remove the actual Halogen Socket with the 2 outer screws
See the HID (Metal Halide) HQI socket is a bit wider and sturdier and is rated for that 4000 volts
that arcs the lamp. The Halogen socket is not, and is smaller.
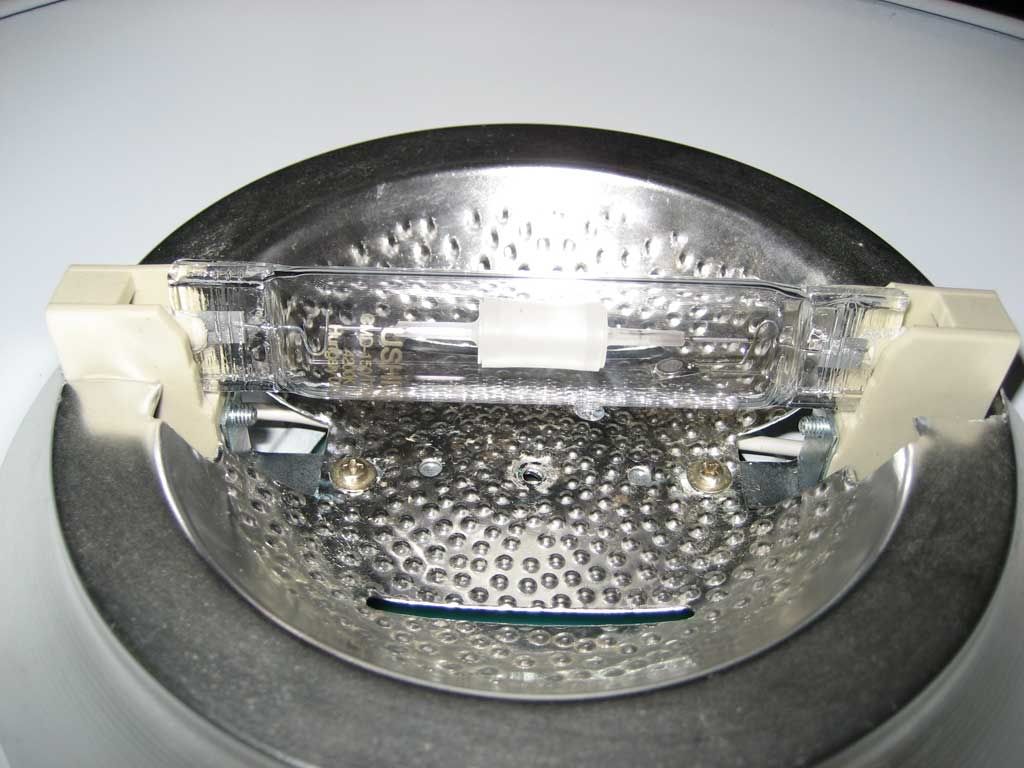
Notice that the HQI socket does not fit in the reflector, it's too long.
Just take some tin snips and cut a little to the edge until it fits:
It's a good idea at this time to give the reflector and top bowl a bath, since they're probably very
dirty.
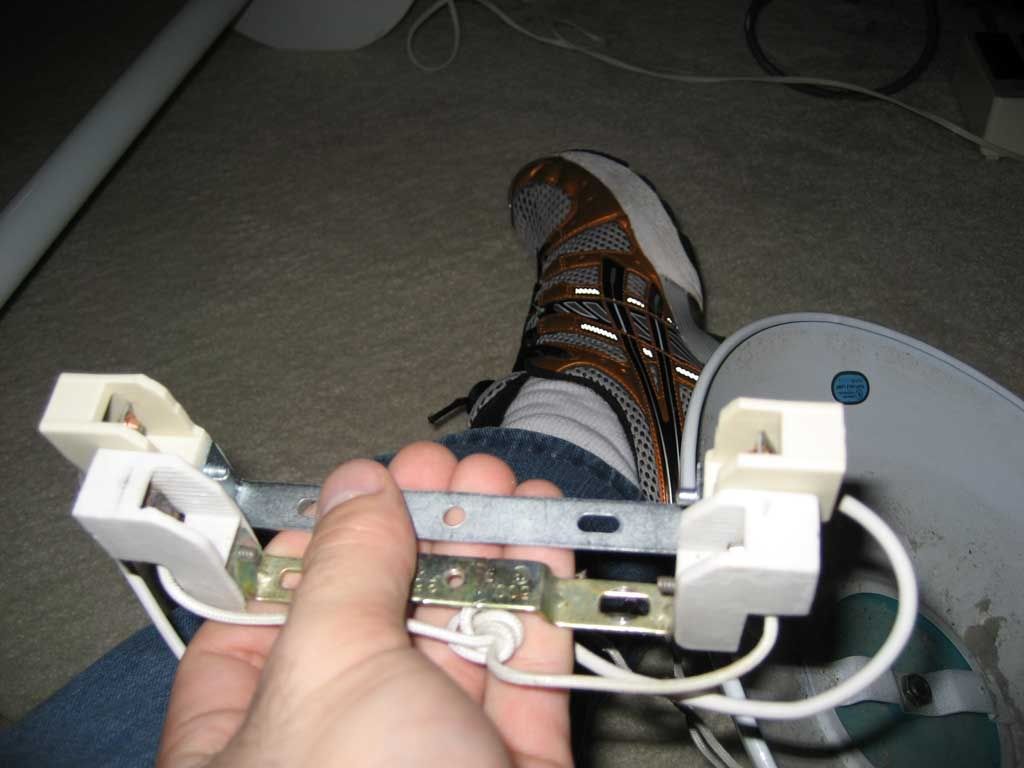
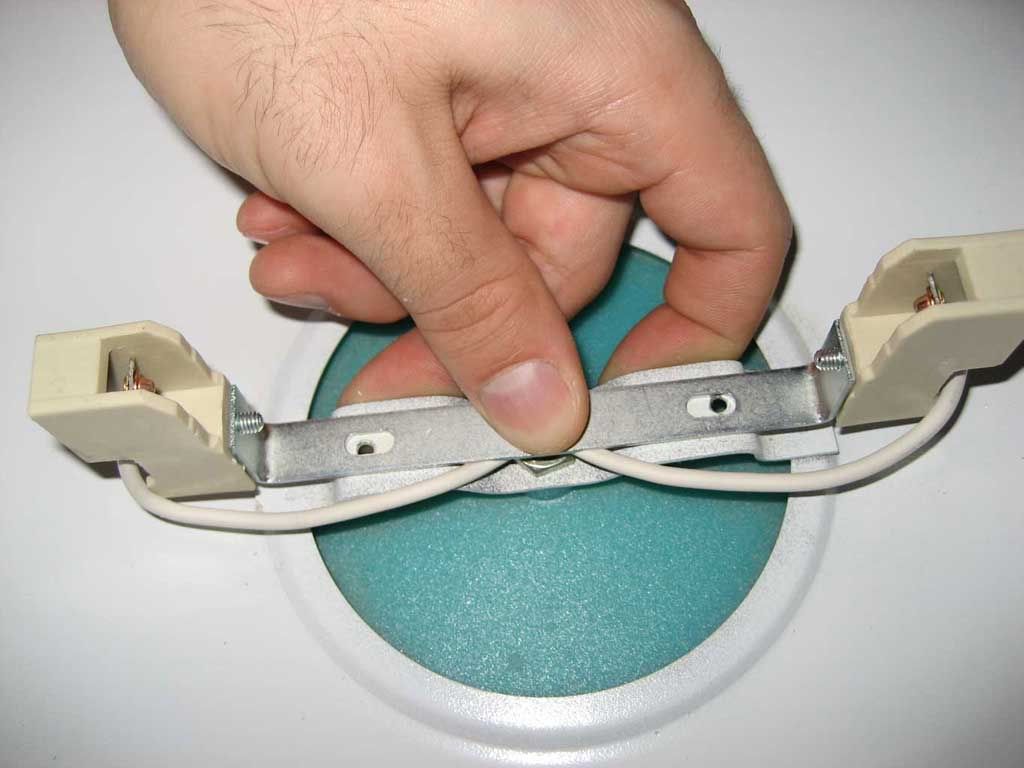
Next we're going to need to mount the HQI socket. The white bowl (not the reflector) happens to have
mounting points for the HQI socket... PERFECT. So we need to drill holes in the aluminum reflector
so that we can put screws through the aluminum reflector, through the socket and into the bowl's
tapped mounting points. Get that? It's screw -> aluminum reflector ->HQI Socket -> white bowl. So
flip the aluminum reflector over, and line up the middle hole, then punch or drill holes (may have
to mark first) where the outer holes will go thorugh.

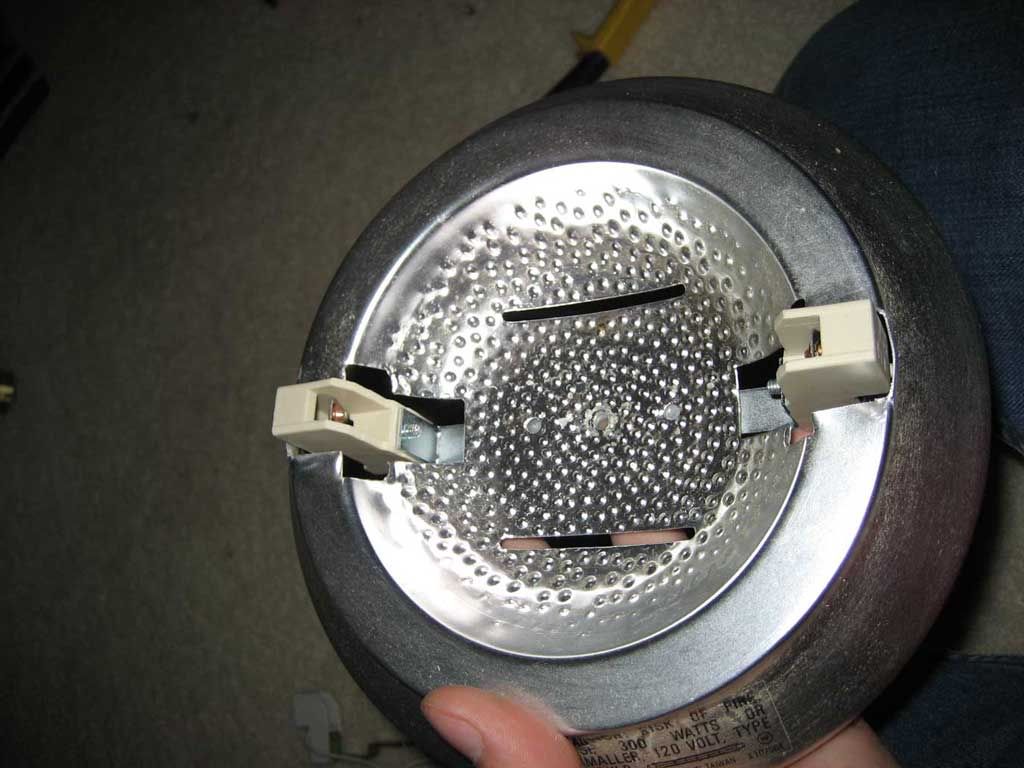
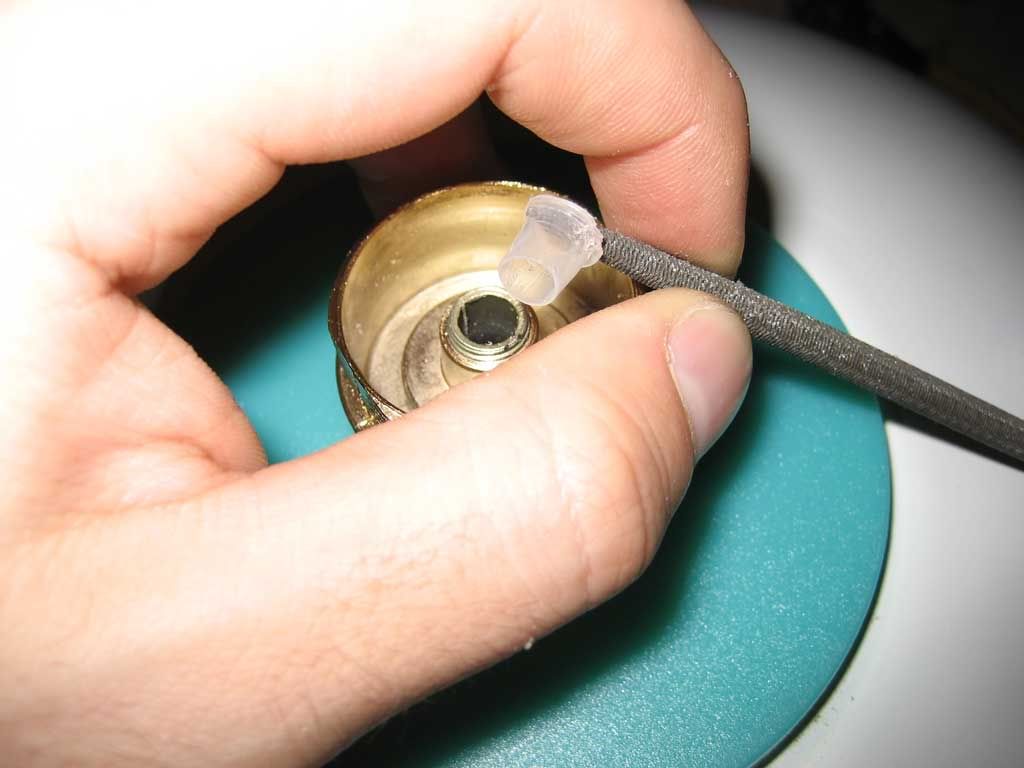
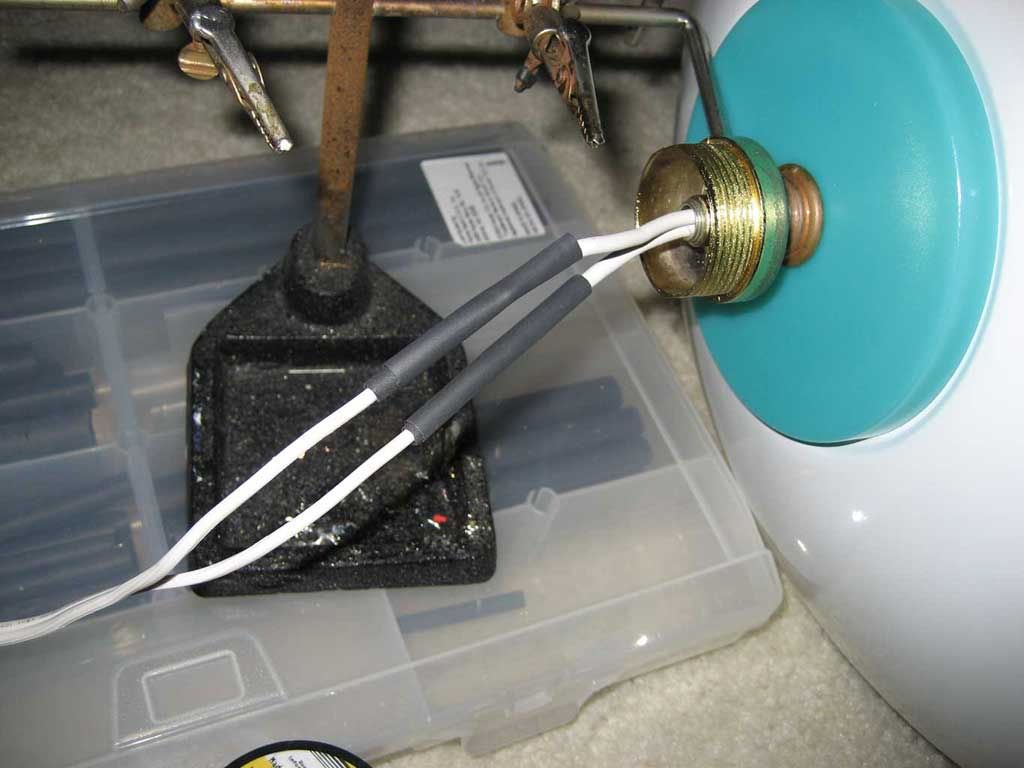
Now the wires for the HQI socket are going to go through the center nipple (yes it's really called a
nipple), and we won't use the center screw. My nipple had a plastic piece that was stopping me from
fitting my 2 wires through:
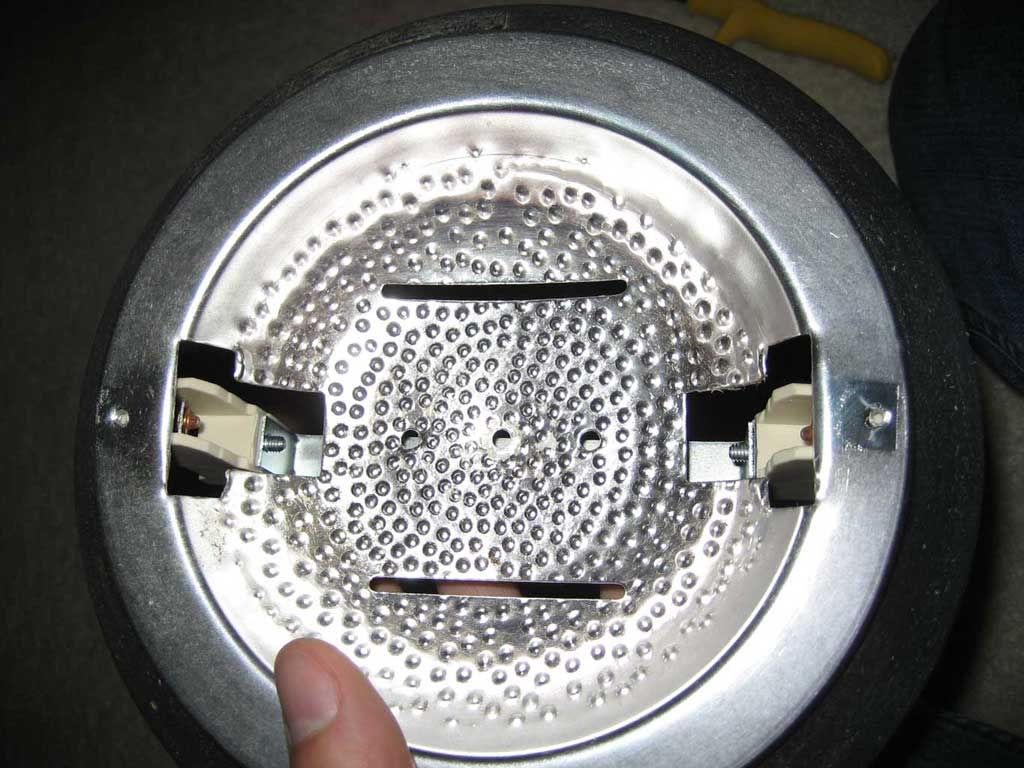
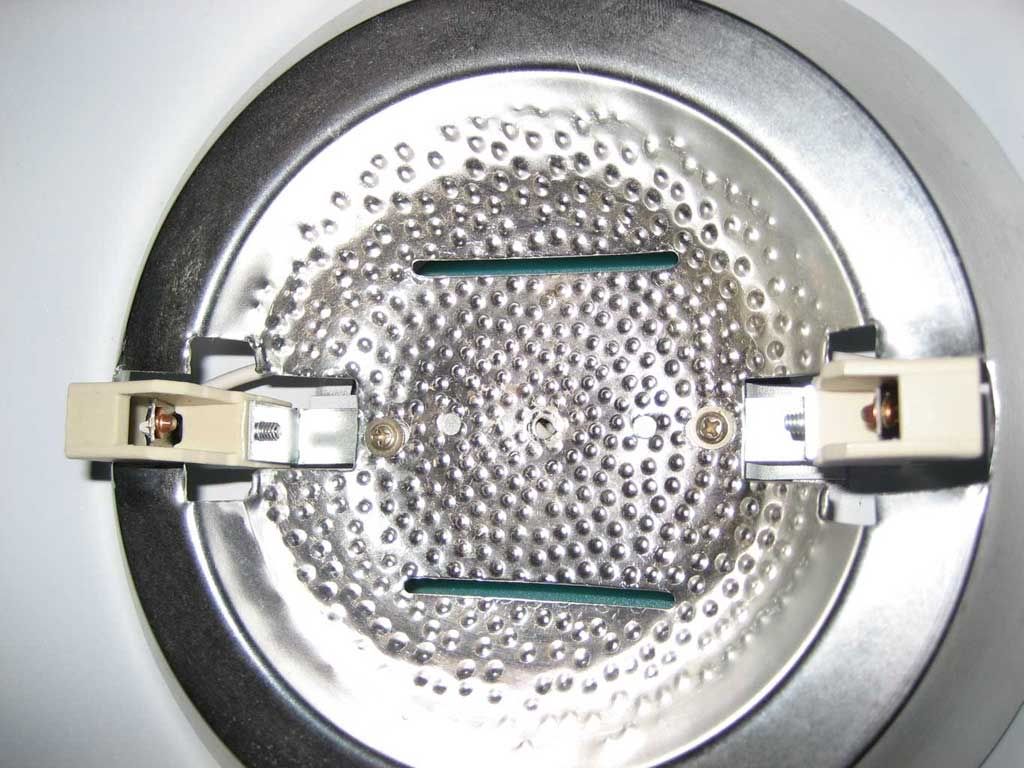
See how it lines up perfectly without the aluminum reflector?
Now screw the two outer screws in, and that's all for the reflector/top part. You should have your
wires coming through the bottom of the white bowl, through the nipple WITHOUT Pinching! Also since
it's metal, be careful not to cut the rubber jacket of the HQI socket wires.
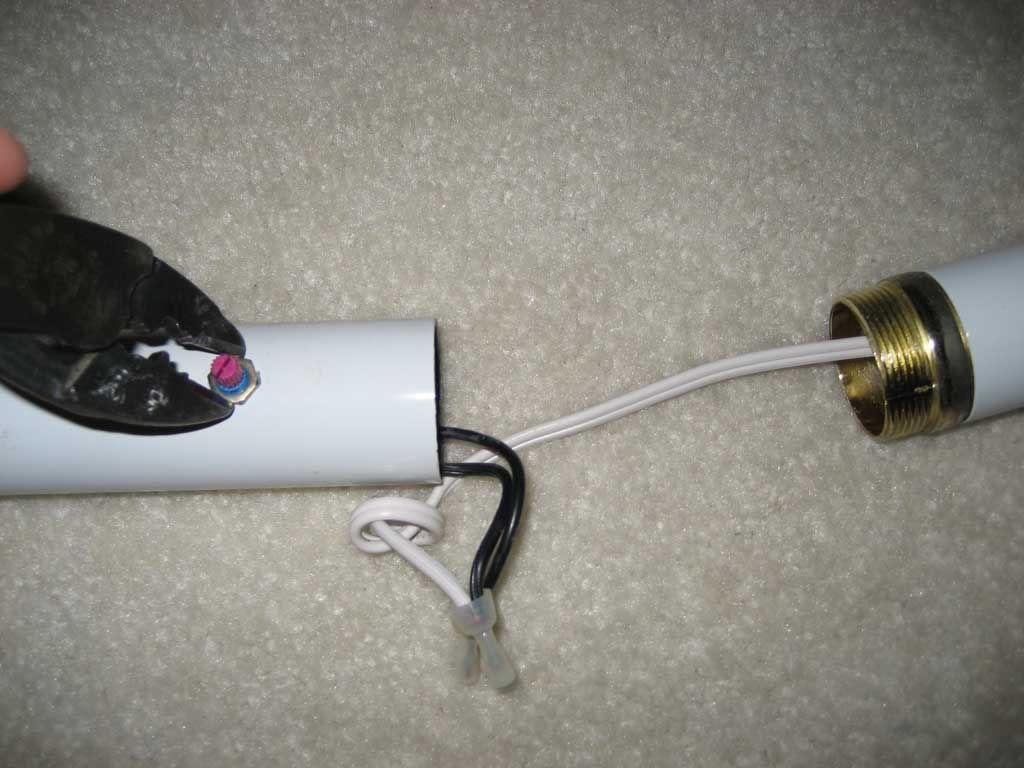
Ok you need 1 par of wires going from the bottom to the top of the lamp. I was able to pull the wire
from right after the dimmer switch far enough up that it could reach the HQI socket wires. Then I
snipped off the socket at the bottom. But this long wire was already there, how convenient.
Now here is the optional part. How are you going to connect wires. Crimp caps work fine as long as
they are sealed well with tape or better yet heatshrink tubing. I chose to solder and heatshrink,
it's not a bad idea if you have it lying around. Since the ballast puts out 4000 volts momentarily
to arc the bulb, it's absolutely critical that you have everything insulated water tight. Lots of
layers of electrical tape is fine.
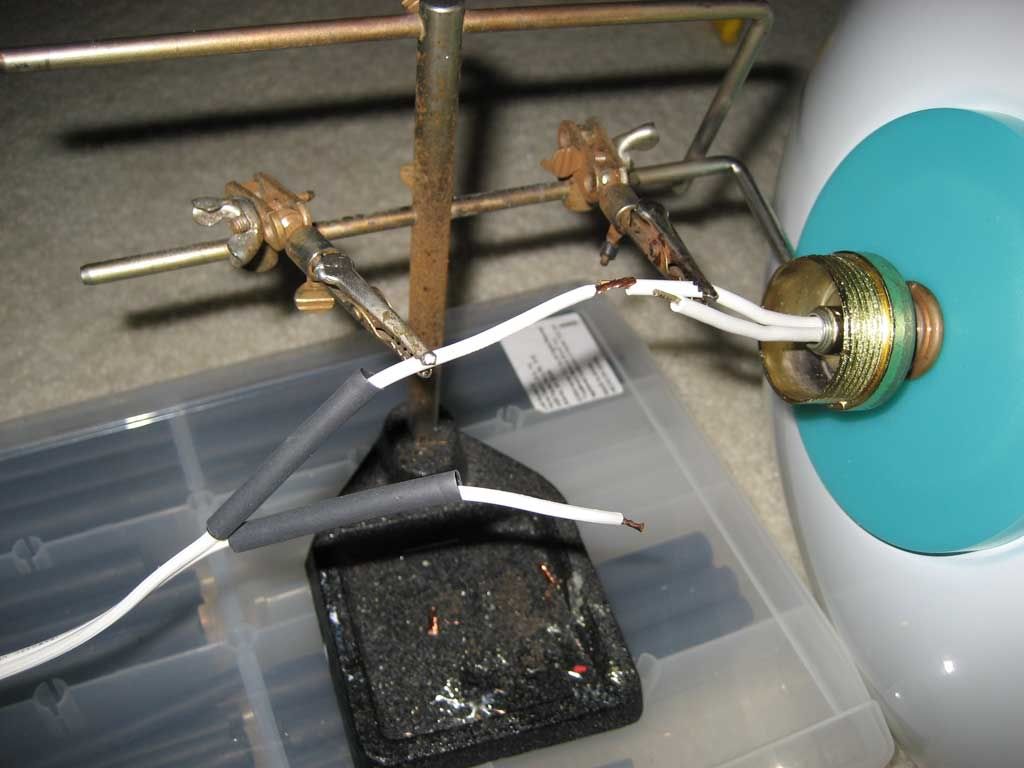
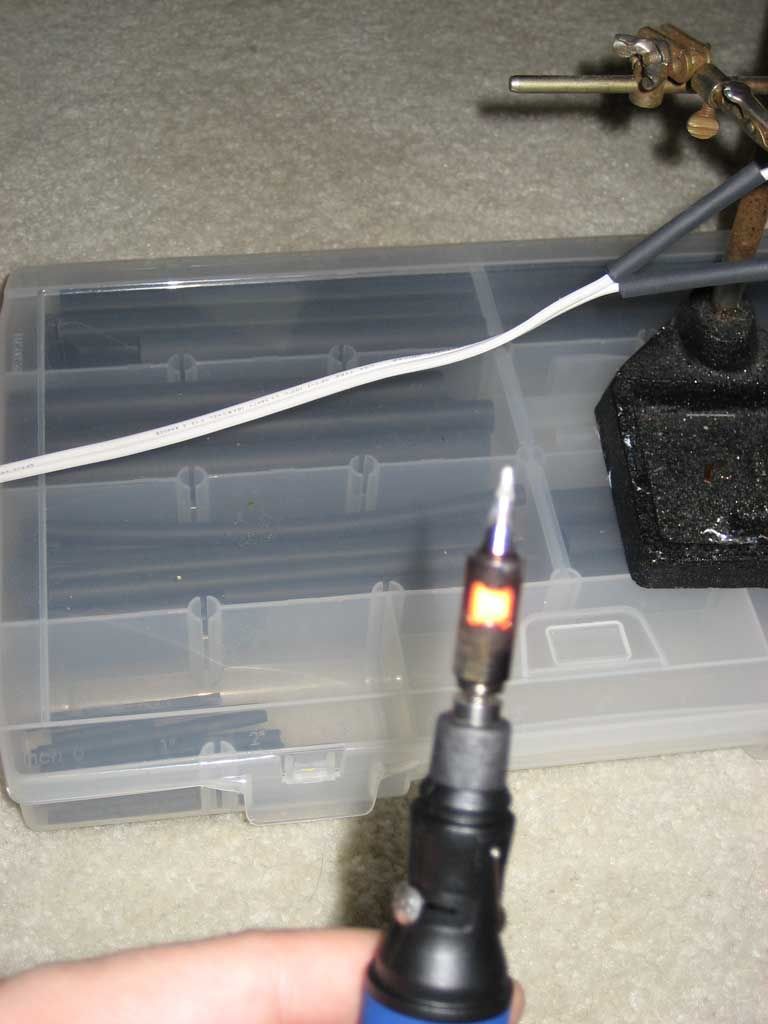

If your significant other is not around, you might even be able to use your handy dandy portable
butane soldering iron in the middle of the living room like I did!
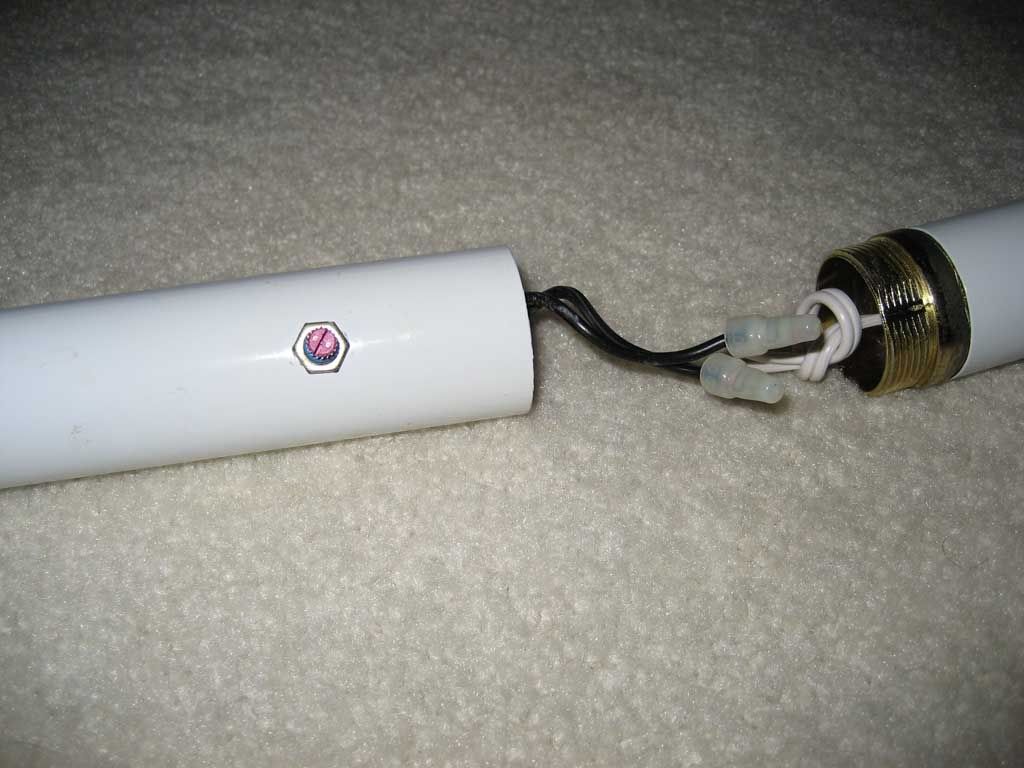
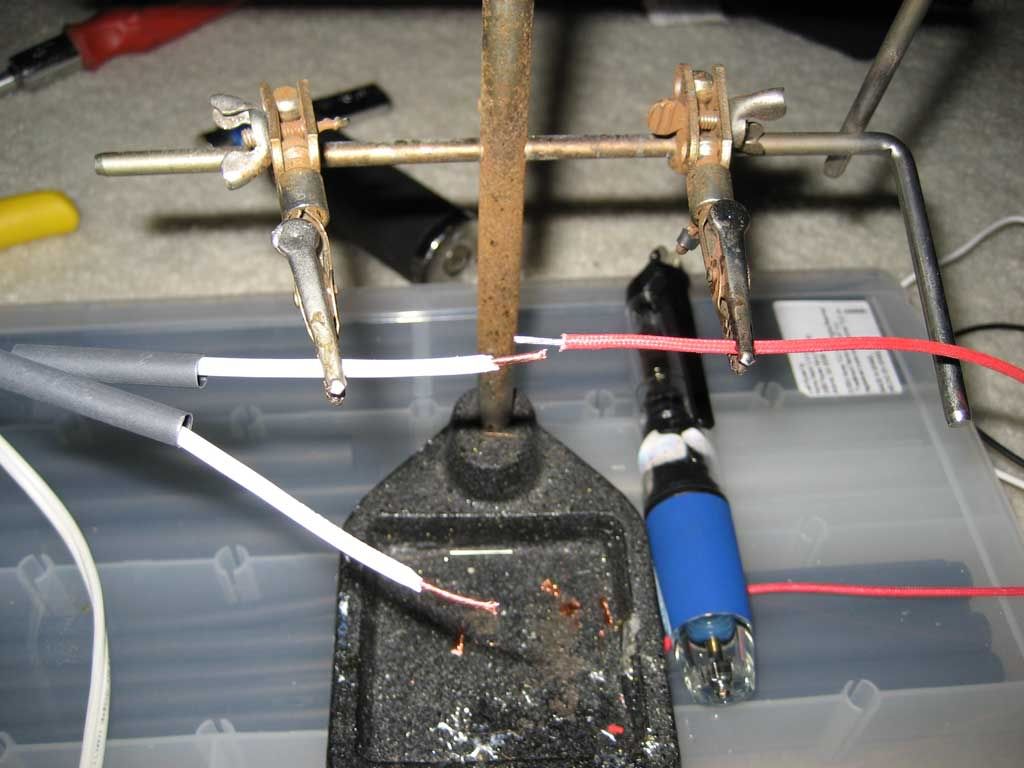
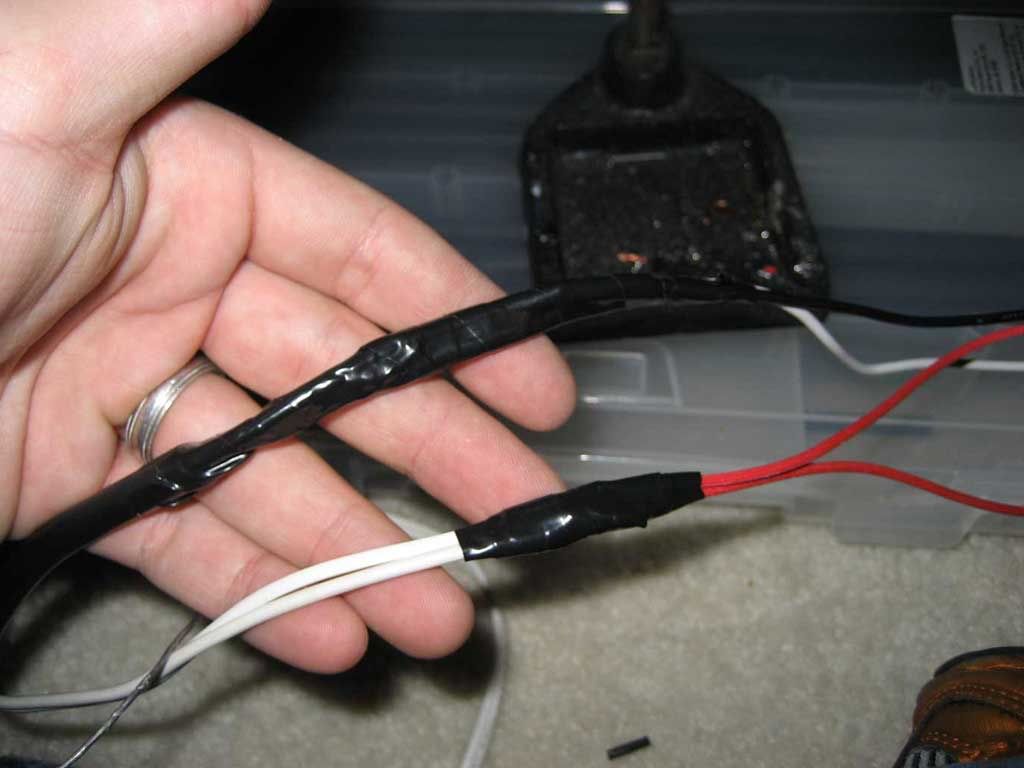
Ok so we have 2 wires coming from the HQI socket to the bottom of the lamp. If you used the wire
that came with the lamp, you have a socket at the base. Snip it off and strip back some wires. You
will have 4 or 5 wires for the ballast. 2 for the Lamp, and 2 or 3 (depending if it's grounded) for
the wall outlet. my 2 lamp wires were red, there is no polarity here for a Double Ended HQI Metal
Halide bulb. The white/black wires are for the wall, and if you have a green wire, it is grounded,
or strapped to the ballast chassis depending on your application. My ballast was not grounded.
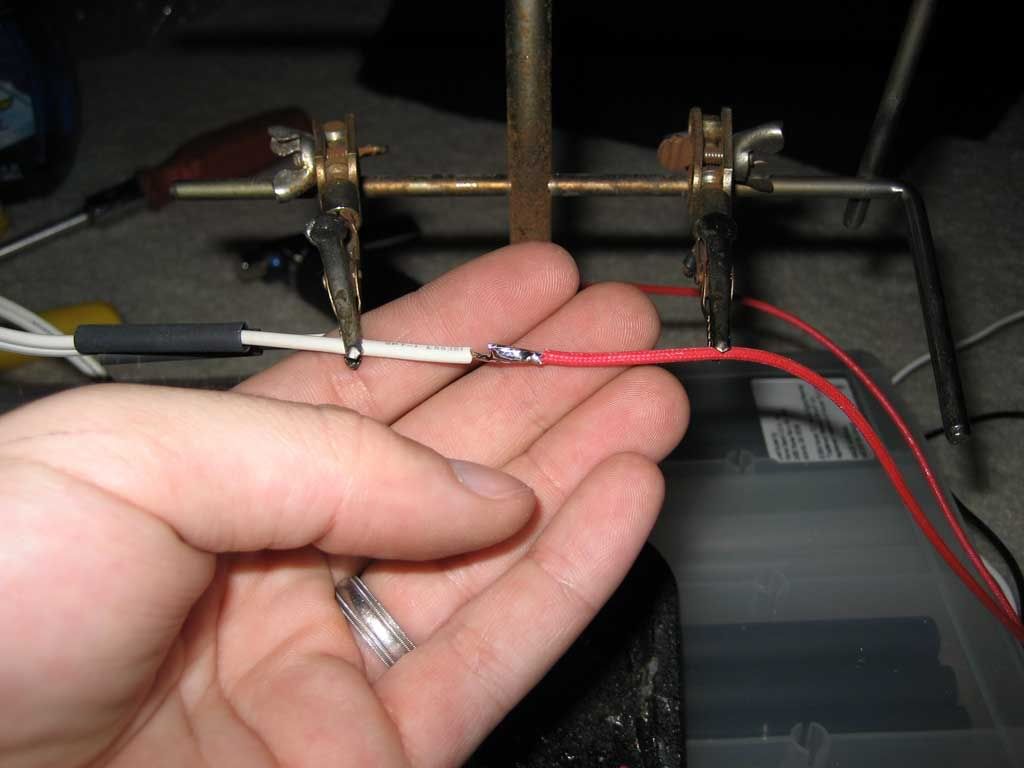
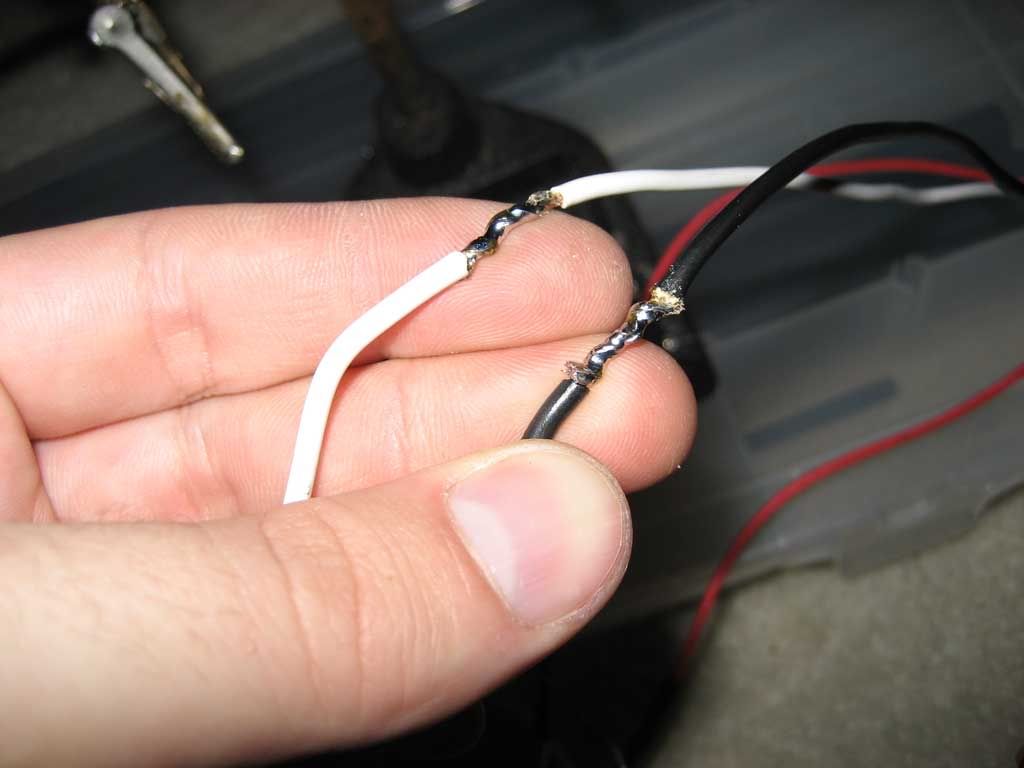
Careful when joining wires with solder, little copper wires can easily cut through heatshrink or
electrical tap and short out. Make sure any prickly parts are either cut off with nippy cutters, or
wrapped extra times with electrical tape and/or heatshrink tubing.
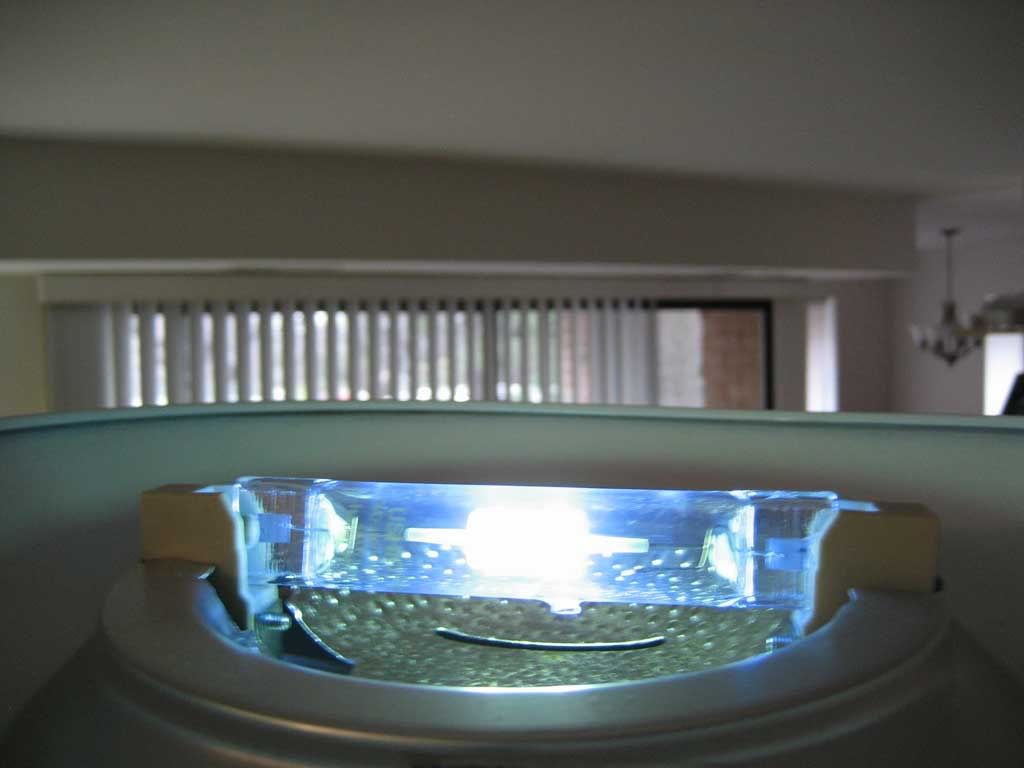
That's IT! We're ready to plug everything in and see if we blow up the house now. So take your bulb
out CAREFULLY!!!! They're not very shock absorbent, but they are pretty hardy, but it's glass.
DO NOT TOUCH THE BULB WITH YOUR HANDS... IT WILL EXPLODE when you turn it on (maybe). Use a piece
of bubble wrap like I did, or your shirt.

Now put it in the socket carefully, make sure that the contact points on the bulb make good contact
with the socket. Slide in one side, push it way back, and then slide it down. You could have
practiced with the halogen bulb... Sometimes it goes in left to right better than right to left...
Crank it up!


 Linear Mode

