This is a Harbor Freight greenhouse kit. We did much research online and found a few good sites with suggestions on building the structure and adding reinforcements to the basic build. There are some improvements we found as we went along.
We finished the main structure, benches and potting table in the beginning of May. The electrical went in this weekend. This includes exhaust fan and outlets. We wanted to do it all at once, but it just wasn't in the cards, (checkbook). So we bypassed caulking the panels until we have competed the electrical and plumbing.
When the weather is more cooperative, warm and dry, we'll seal the greenhouse up by caulking all the panels in place.
I'll post an overview of pics. We have tons of pictures so if you have any questions on a specific part of the project, I'm sure we can post a pic or two with descriptions.
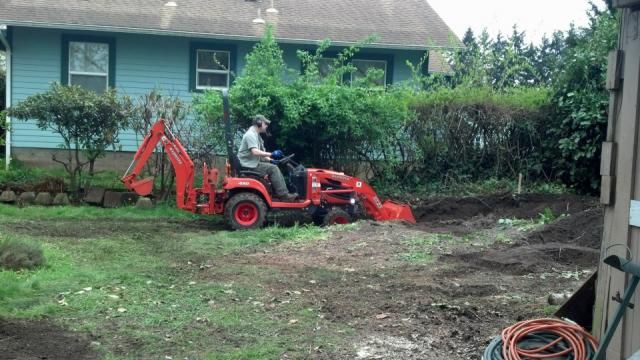
We had to rent a backhoe to level off the ground. There was a 3 foot rise to the end of the property where we wanted to put the greenhouse.

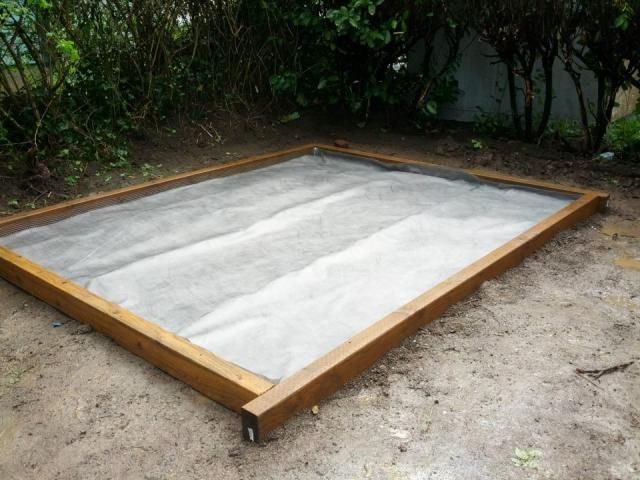
After much leveling and dirt moving we laid 4 x 6's for the foundation. To keep varmits and weeds out there is a layer of hardware cloth and weed barrier inside the foundation.
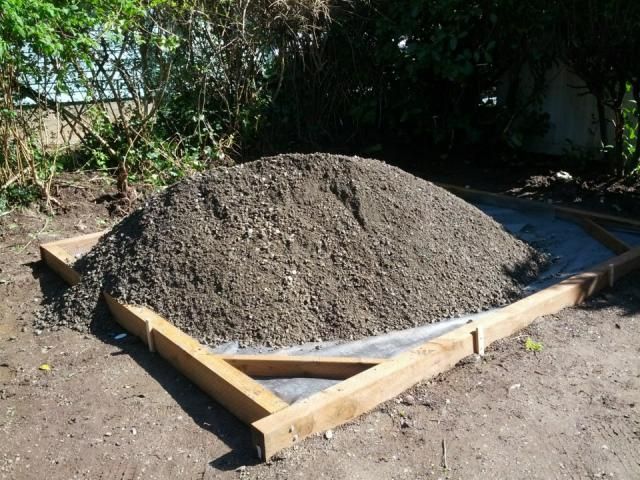
The foundation was cross braced and gravel dumped in for the flooring. This was the floor of choice for drainage and basic ease of use.
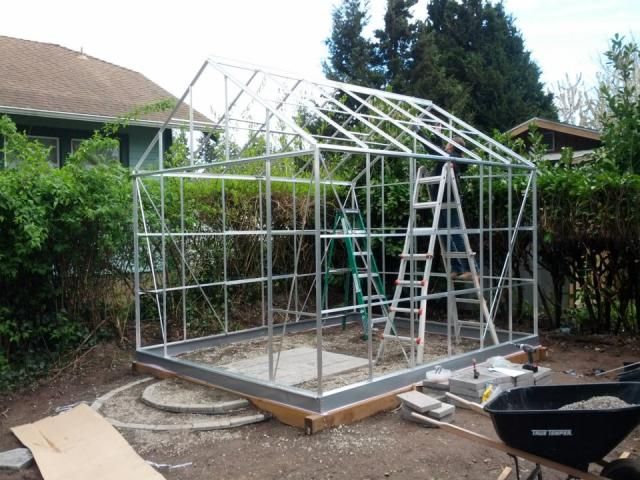
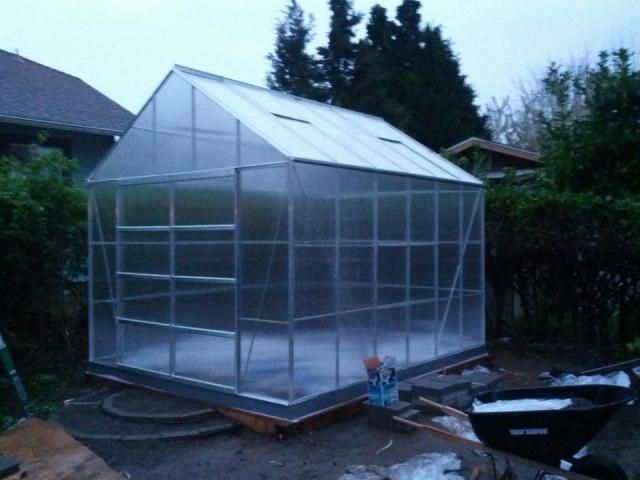
This is the steel base of the greenhouse in the kit. The instructions recommend that you bury the foundation to stabilize the structure. We chose to place it on a wood foundation to keep it from rotting in the ground. The center walkway is made from 12 x 12 concrete pavers and is 4 ft wide.

Frame complete
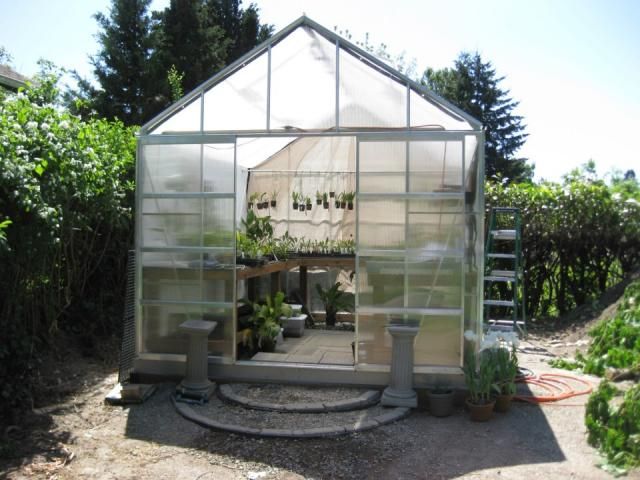
This is the finished basic build.
Studly benches courtesy of my studly man!
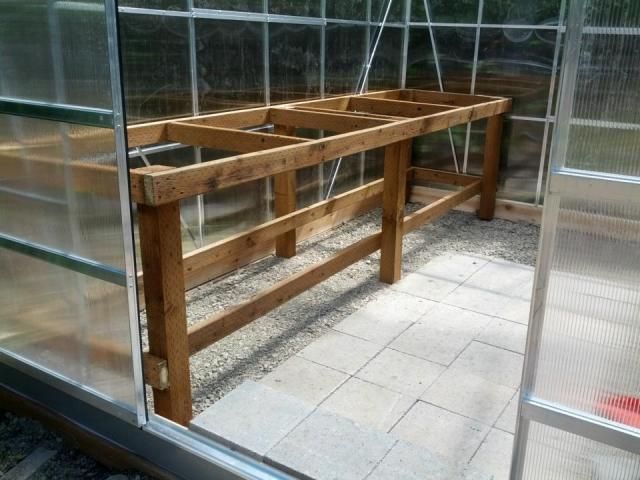
The tops of the benches are Durabench or a similar brand of molded plastic. I got a lucky break and was able to pick them up for a song. The benches are 3ft wide on the sides and 2ft wide on the end. The underside of the benches have rods along the entire length to hang the Dracs when the heat sets in. I have since moved them down under the benches where they are much happier.
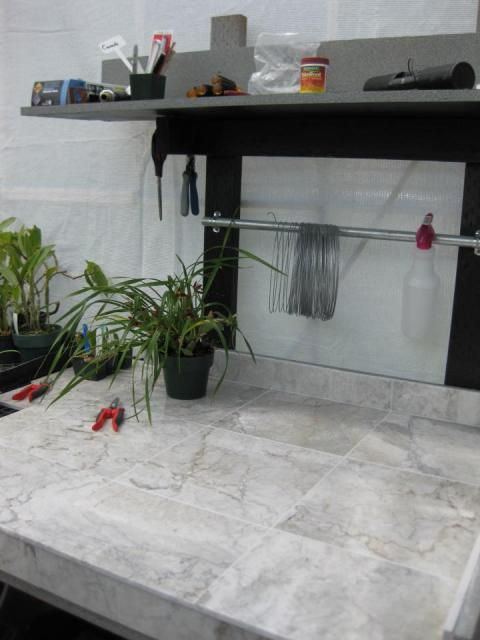
This is the potting table. We found some marble tile on sale at Home Depot. It's a nice touch.
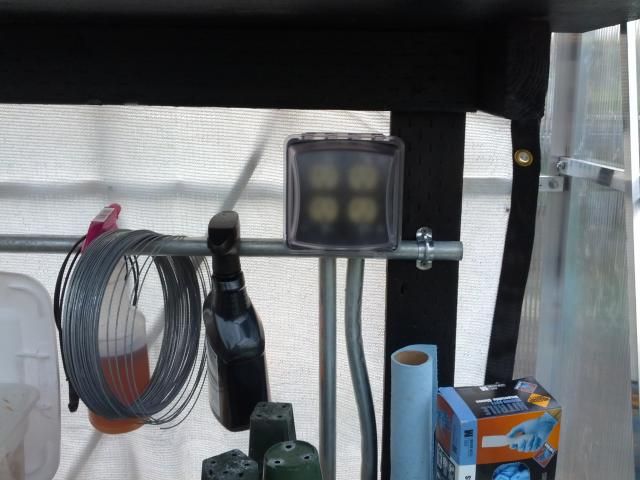
This is the electrical work from this weekend
Outlets
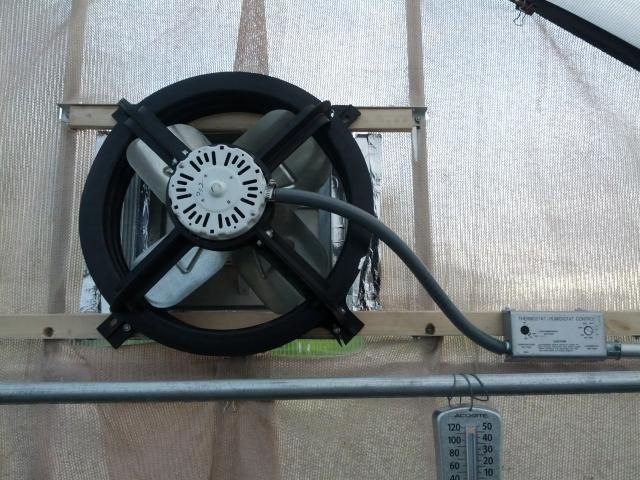
Fan
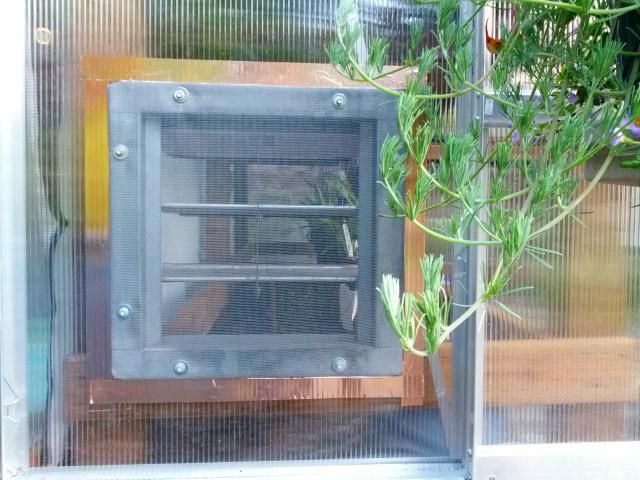
Shutter vent
Finished from the outside
Hopefully by the end of summer I'll have the rest of the amenities finished. Some of the upgrades include an automatic
misting system and landscaping around the outside.
 |
 |
 |
 |
 Mistking
|

Looking for a misting system? Look no further. Automated misting systems from MistKing are used by multitude of plant enthusiasts and are perfect for Orchids. Systems feature run dry pumps, ZipDrip valve, adjustable black nozzles, per second control! Automatically mist one growing shelf or a greenhouse full of Orchids.
See MistKing testimonials |
|
 |
 |
 |
 |


 Lol
Lol 


 Love the rounded access steps!


 Linear Mode


